If you’ve ever struggled with dry, dense, homemade cakes that taste like cornbread, you need this guide! I’m sharing the top 3 common ways bakers accidentally ruin their homemade cakes so you can avoid them and ditch those box mixes once and for all. Includes a video!
This Guide Will Be Helpful for You If…
- Your homemade cakes usually turn out dense, dry, lumpy, cornbread-like, or tunneled.
- You’re often left frustrated and feeling like you’ve wasted ingredients and time when making a cake from scratch.
- You tend to rely on box mixes because homemade cakes don’t turn out consistently for you.
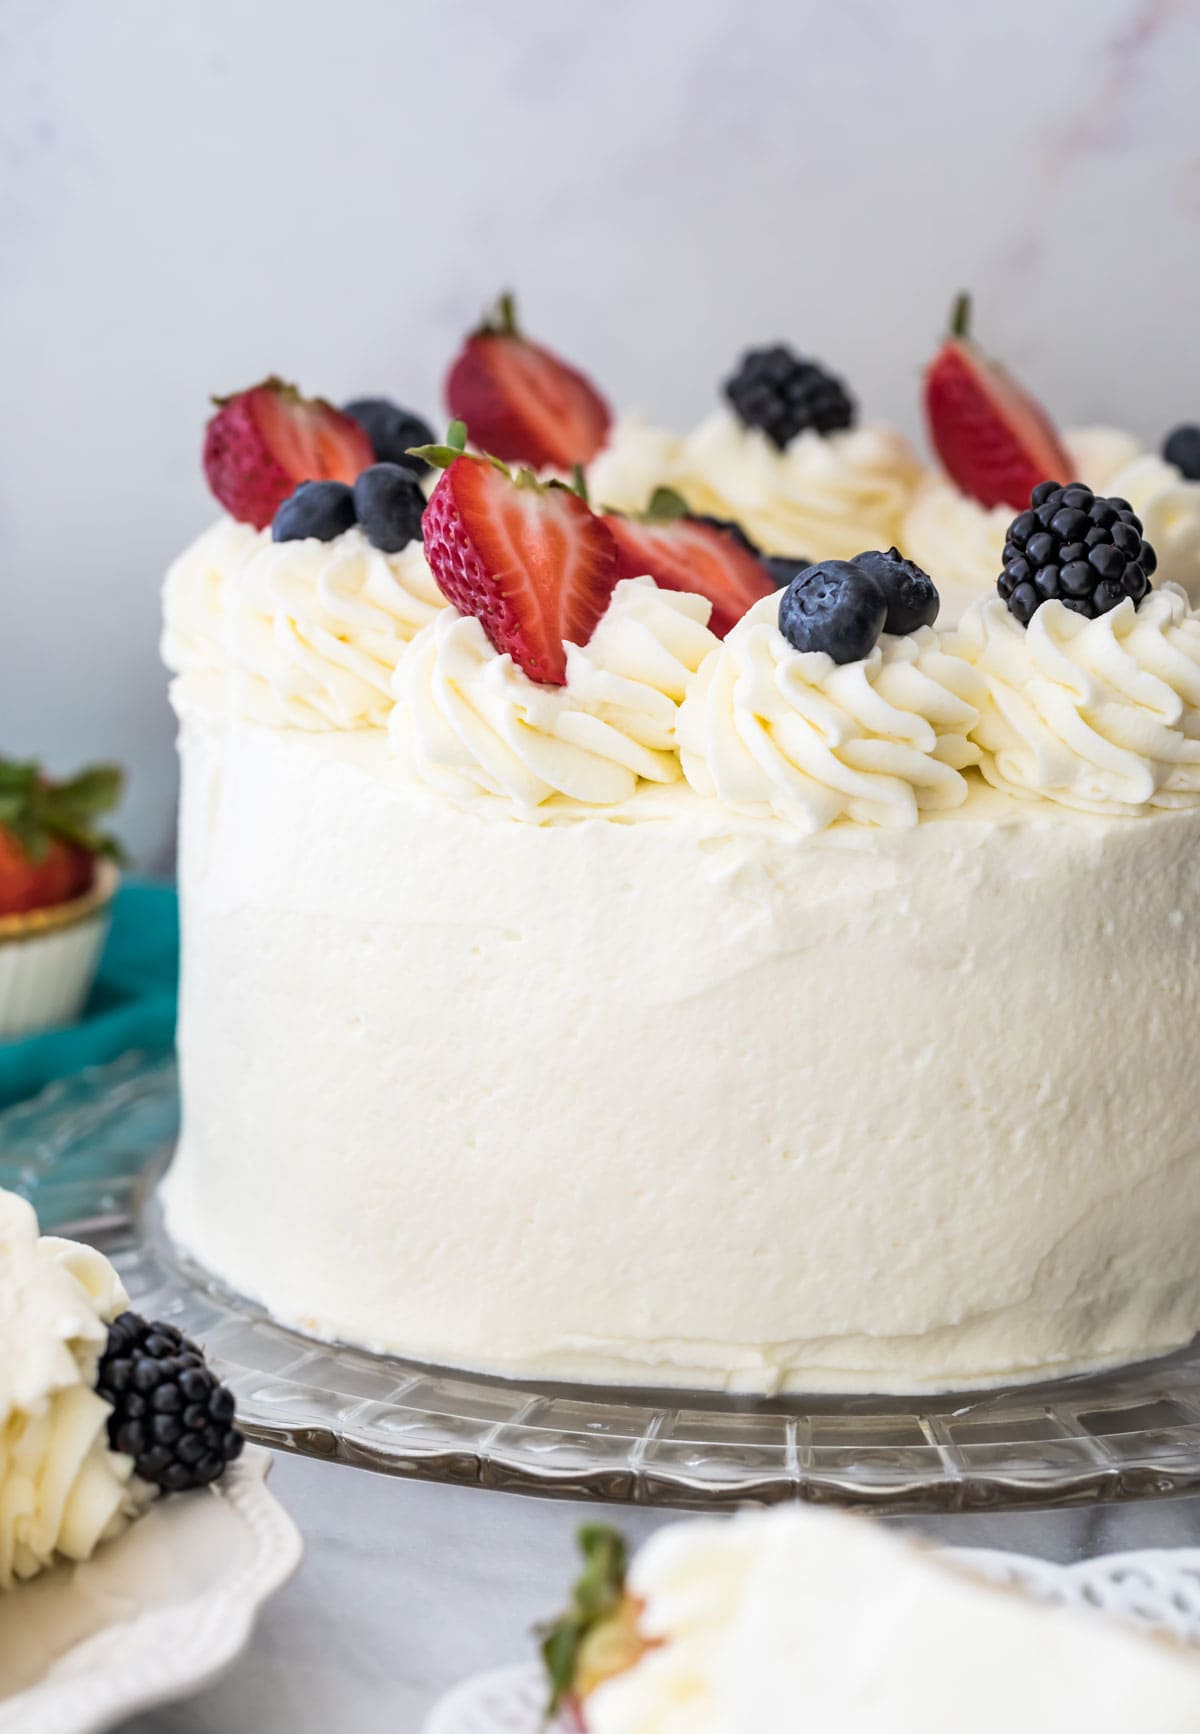
- You want to learn how to make perfectly moist, tender, and beautiful cakes that taste and look amazing (like the pistachio cake pictured above!).
Cookies are usually my favorite thing to make, but lately I’ve been on a big cake kick (have you seen my strawberry shortcake cake?). With all of these new cake recipes, now seems like the perfect time to share my tips on common cake mistakes and how to avoid them.
I’m sharing the top three mistakes I see home bakers make when making cakes from scratch. All of these have happened me at one point or another, and they may have happened to you too! Don’t forget to scroll down to the video at the bottom where I share more tips.
Mistake #1: Measuring Flour Incorrectly
The outcome: dry, crumbly, dense texture, cornbread taste.
The solution: use a kitchen scale or the spoon and level method.
The first and possibly easiest way to accidentally ruin a cake is to over-measure your flour. This is so important that I actually have a whole separate post dedicated to measuring flour correctly!
Many bakers don’t realize that their flour measuring method is actually the culprit for their dry cakes (and cookies too!). It’s so easy to over-measure flour, especially when you scoop and pack it into your measuring cups. This method can unintentionally add a measurable amount of flour into your baked goods, making them dry, dense, and crumbly.
To remedy this, I recommend using spoon and level method. Fluff the flour first (give it a stir and make sure it’s light and airy in its container, not packed in), then use a spoon to scoop the flour, pour it into your measuring cup, and use a level (like the back of a knife) to level off the measuring cup. Better yet, use a kitchen scale! Kitchen scales are inexpensive, and using one will completely change your baking. They are precise, easy to use, and they’ll save you from having to wash a bunch of measuring cups too. I’m a big fan!
SAM’S TIP: You don’t need a super fancy or expensive kitchen scale; here’s the scale I use (affiliate). It’s only $15 on Amazon.
Mistake #2: Mixing Incorrectly
The outcome: dense texture, lumpy or tunneled appearance, cornbread taste.
The solution: thoroughly cream your butter and sugars, then switch to a spatula when combining wet ingredients.
Another big mistake that often happens in the kitchen is the improper mixing of ingredients. This starts at the very beginning of most recipes when creaming the butter and sugar. Make sure the mixture looks smooth, creamy, and lightened in color before proceeding–this usually takes a minute or two of mixing.
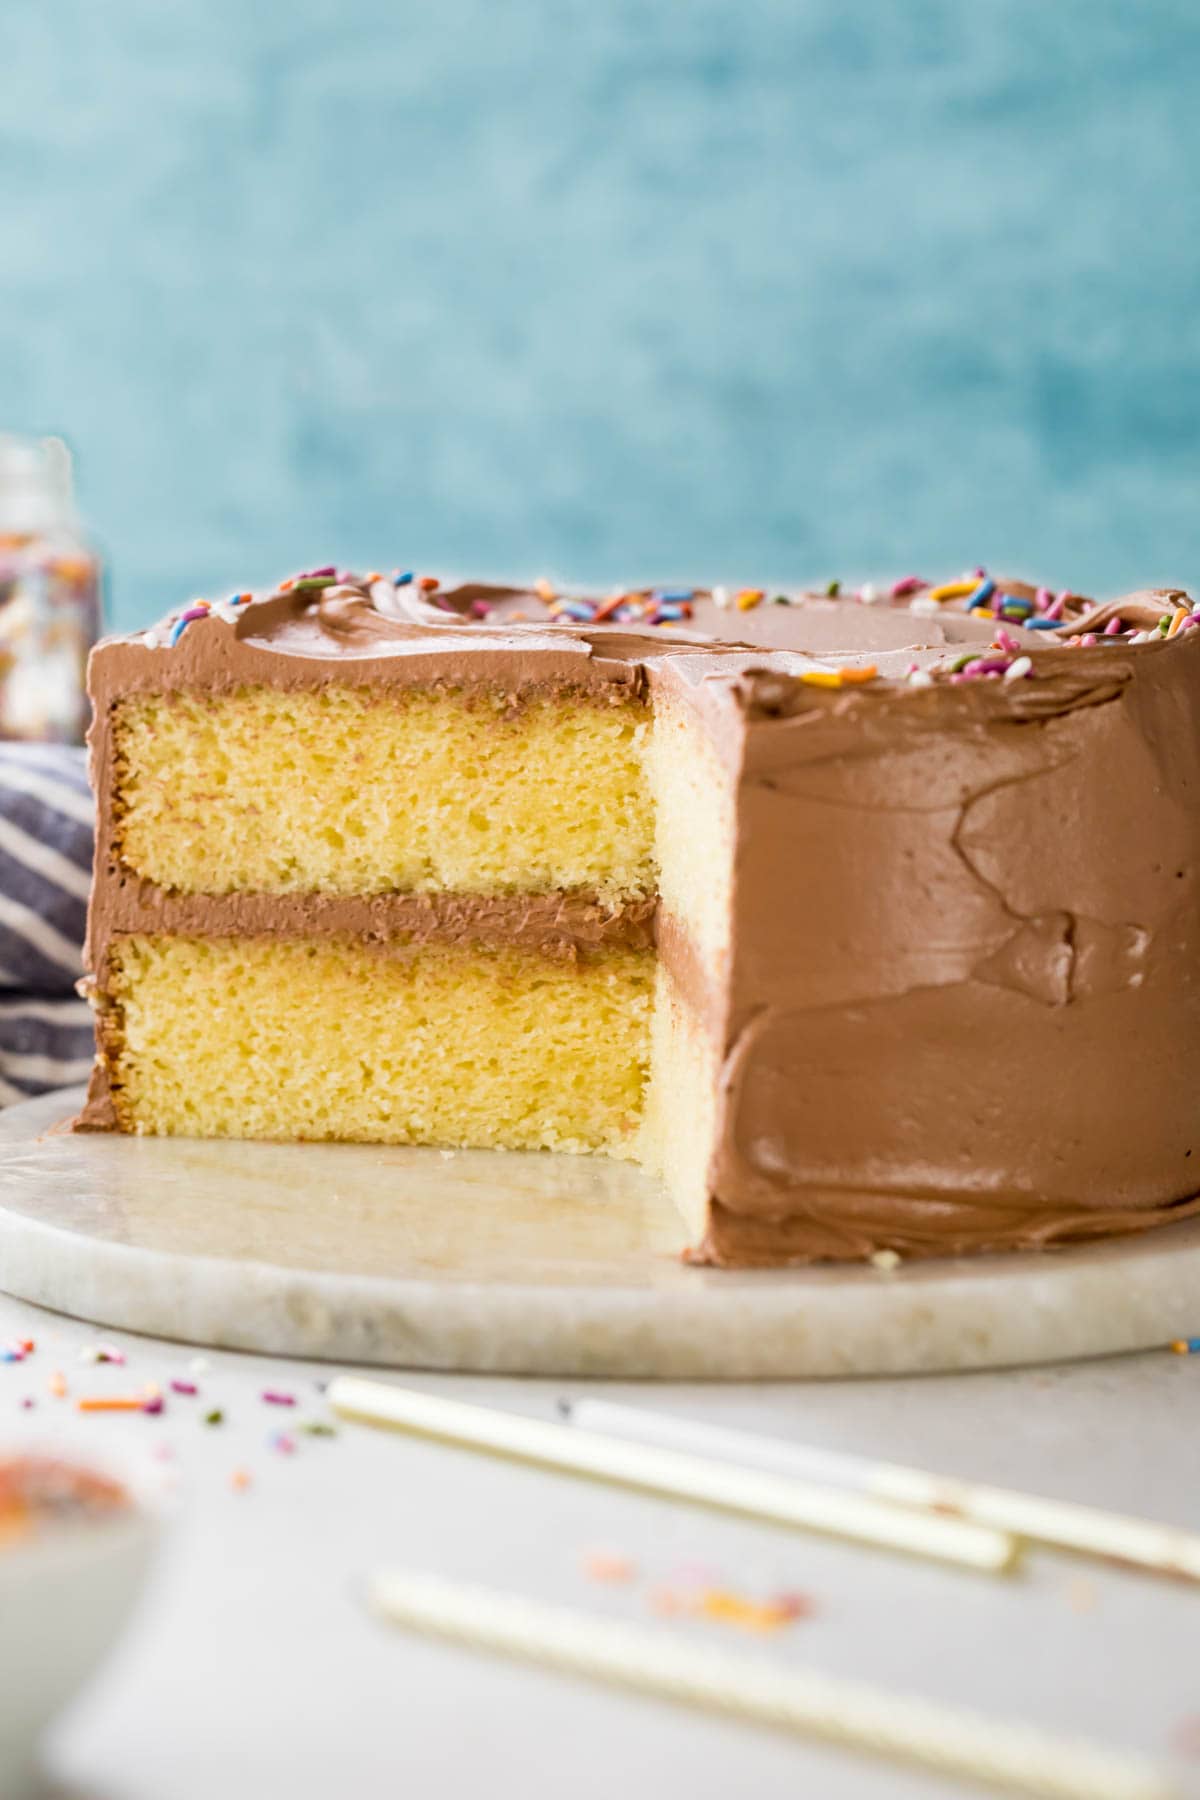
What’s even more detrimental though is accidentally over-mixing when combining wet and dry ingredients (note: this particularly applies to traditionally creamed cakes, like my vanilla cake or pineapple upside down cake). This could happen when mixing by hand, but it most often happens when using a mixer. So unless your recipe states otherwise, it’s best to switch to a spatula when combining wet and dry ingredients. Like when making pancakes, some small lumps in the batter are totally fine.


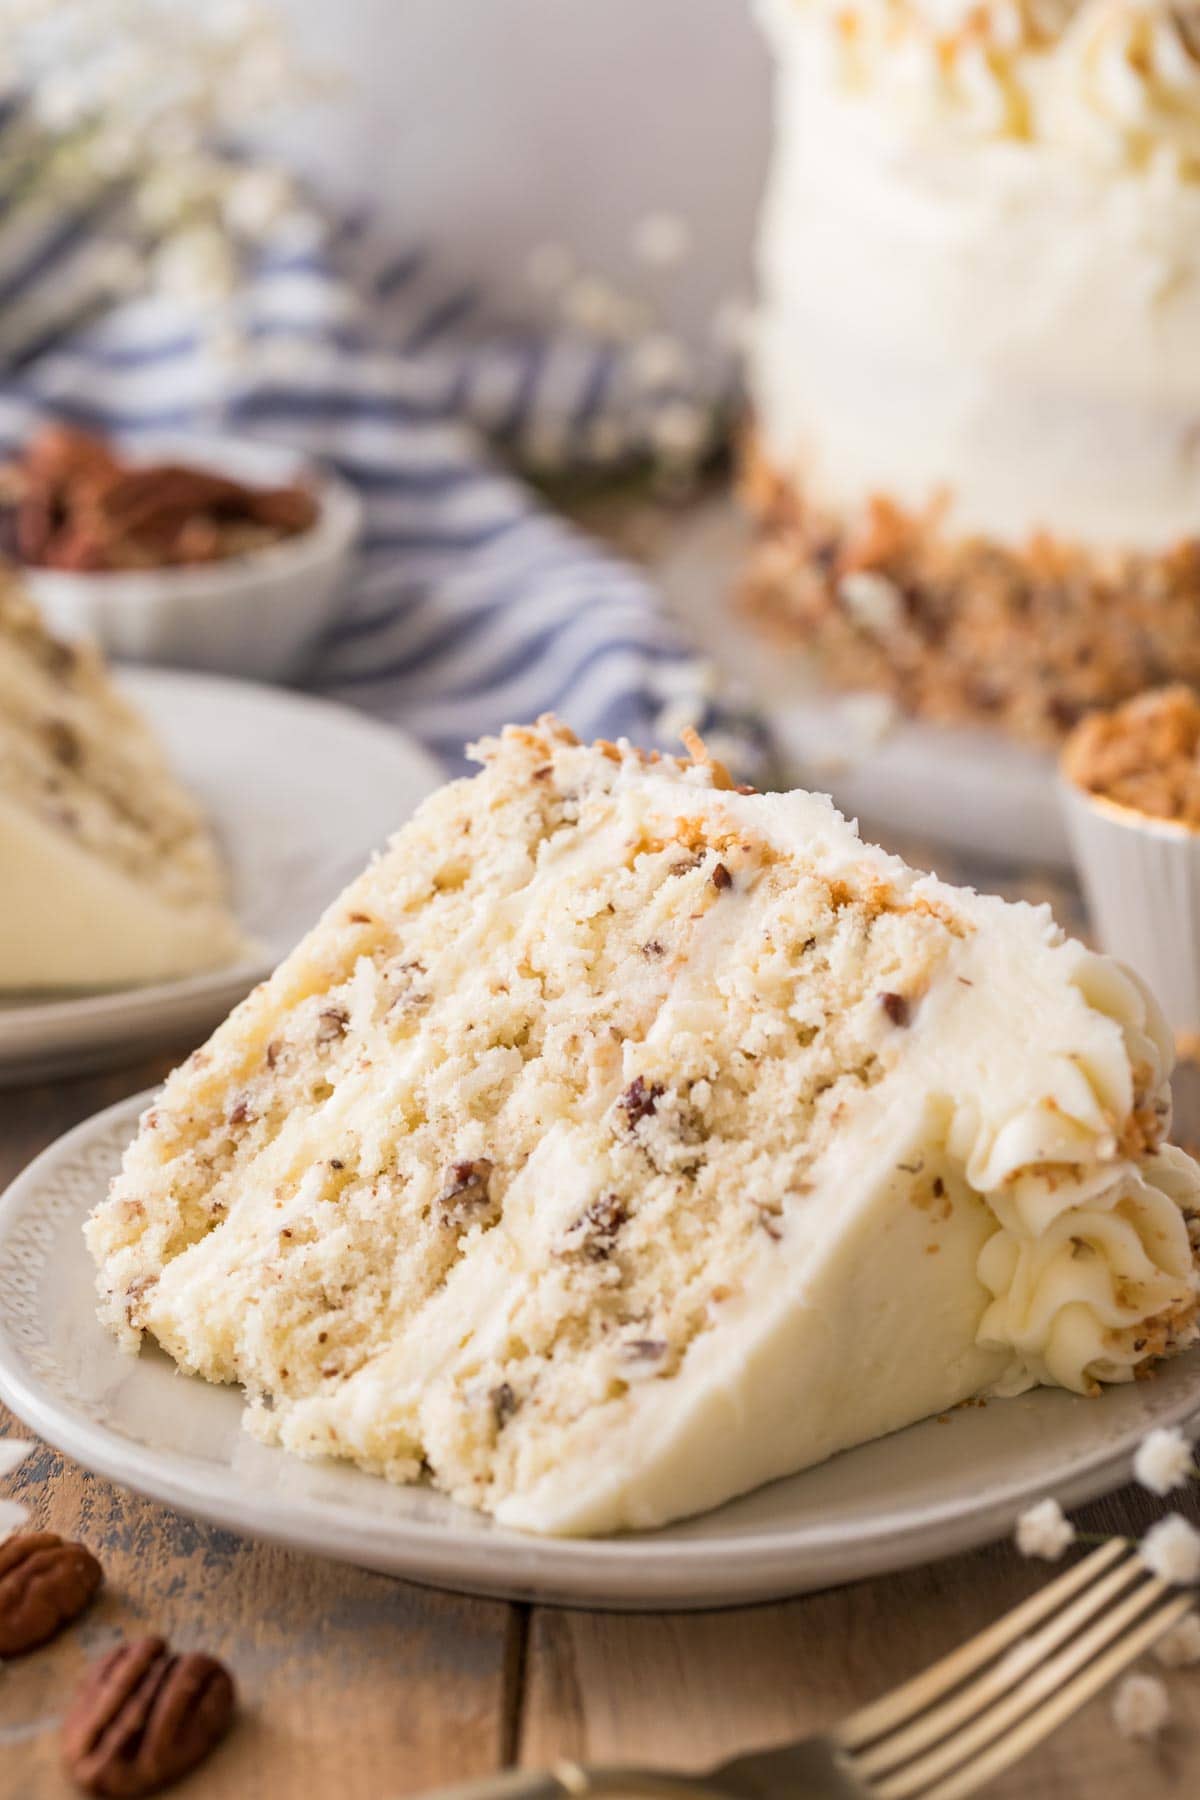
One exception to this rule is if your recipe uses the reverse creaming method; this method allows you to combine your wet and dry ingredients with a mixer with very low risk of over-mixing. I use this technique with my caramel cake, Italian cream cake (pictured above), and spice cake, just to name a few.
Under-mixing can also be a concern, though it’s not quite as common. Two of the risks with under-mixing include having a lumpy appearance or pockets of leavening agents in your batter, but you shouldn’t have any issues with this if you whisk your dry ingredients together well before adding them to the wet ingredients.
SAM’S TIP: Using room temperature ingredients will help you combine your batter much more easily and avoid lumps. So set your eggs, butter, buttermilk, sour cream, etc. out beforehand for best results!
Mistake #3: Baking for Too Long
The outcome: dry, dark, crumbly cake with a hard, crusty exterior. Cornbread taste and texture.
The solution: know your oven, bake in the center rack, and remove the cake from the pan.
The final big mistake I often see is accidentally over-baking your cake (or baking it for the “right” amount of time in an oven that’s too hot!). This is the quickest way to dry out your cake, which can cause it to crumble, fall apart, and taste like cornbread. The key to not over-baking your cake is to know your oven; you may need to bake for more or less time than your recipe says.
Because most ovens don’t run true to temperature, using an oven thermometer is always a good idea. If your oven tends to run hot, you may need to check for signs of doneness sooner than the recipe indicates. Also, always bake on the center rack (unless specifically indicated otherwise), as this is where the heat is most even.
Here is the oven thermometer I keep in my own ovens (affiliate link), keep them closest to where you actually do your baking, so in the center of your oven.


You’ll know your cake is ready to come out of the oven when the center lightly springs back when touched and it passes the toothpick test.
To do the toothpick test, simply insert a toothpick into the center of your cake. You want the toothpick to come out with a few moist crumbs or completely clean. If your toothpick comes out with wet batter, your cake isn’t done yet. A skewer works best for deeper cakes like bundt cakes or banana bread.
While a clean toothpick is an indicator that your cake is definitely done baking, an over-baked cake will also yield a clean toothpick, so I always prefer to remove the cake when I still have some moist crumbs.
Another not-so-obvious way to over-bake your cake is to let it set in its hot baking pan for too long. Because of this, it’s important to remove the cake from the baking pan when the recipe says to.
SAM’S TIP: Cheap, flimsy pans or dark pans may cook faster than the recipe indicates. Cakes baked in glass pans will take longer.
Frequently Asked Questions
Under-mixing your batter, over-mixing your batter, opening the oven door while the cake is baking, or underbaking can all cause your cake to sink.
Some ways to fix a dry cake include adding a filling (like pastry cream or raspberry cake filling) or brushing simple syrup on your cake layers when assembling.
You can also use your dry cake to make cake pops, since combining the cake with the frosting should moisten it up a bit.
I recommend greasing, flouring, and using parchment paper cake rounds. You can buy pre-cut parchment rounds, but I just like to trace the bottom of my cake pans onto parchment sheets and cut them out.
This can happen for a few reasons; either your oven is running hotter than it says it is, your pans are too close to the sides/back/top of the oven, or you are using dark colored pans. You can try to scrape the dark crust off with a knife.


Bonus tip: check out my post on how to decorate a cake for beginners. It will transform your cakes from lumpy, lopsided, and domed to professional and clean!
Video
Let’s bake together! Subscribe to my newsletter to be notified of all the newest recipes, and find my free recipe tutorials on YouTube 💜
Related Posts
