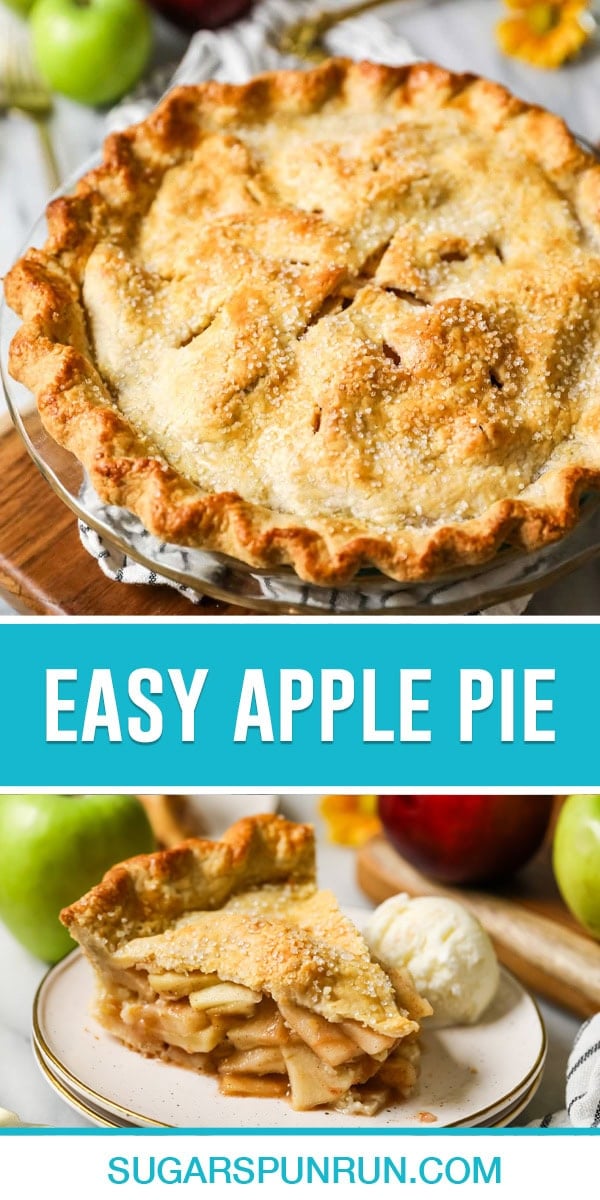
Short on time (or energy) but still looking for a show-stopping pie for your dessert table? My easy apple pie is quick and simple to make and still delivers incredible, homemade, and flavorful results! No need to pre-cook the filling, and while I recommend you use my easy homemade pie crust you can substitute store-bought in a pinch! Recipe includes a how-to video tutorial!

Simple & Easy Apple Pie Recipe
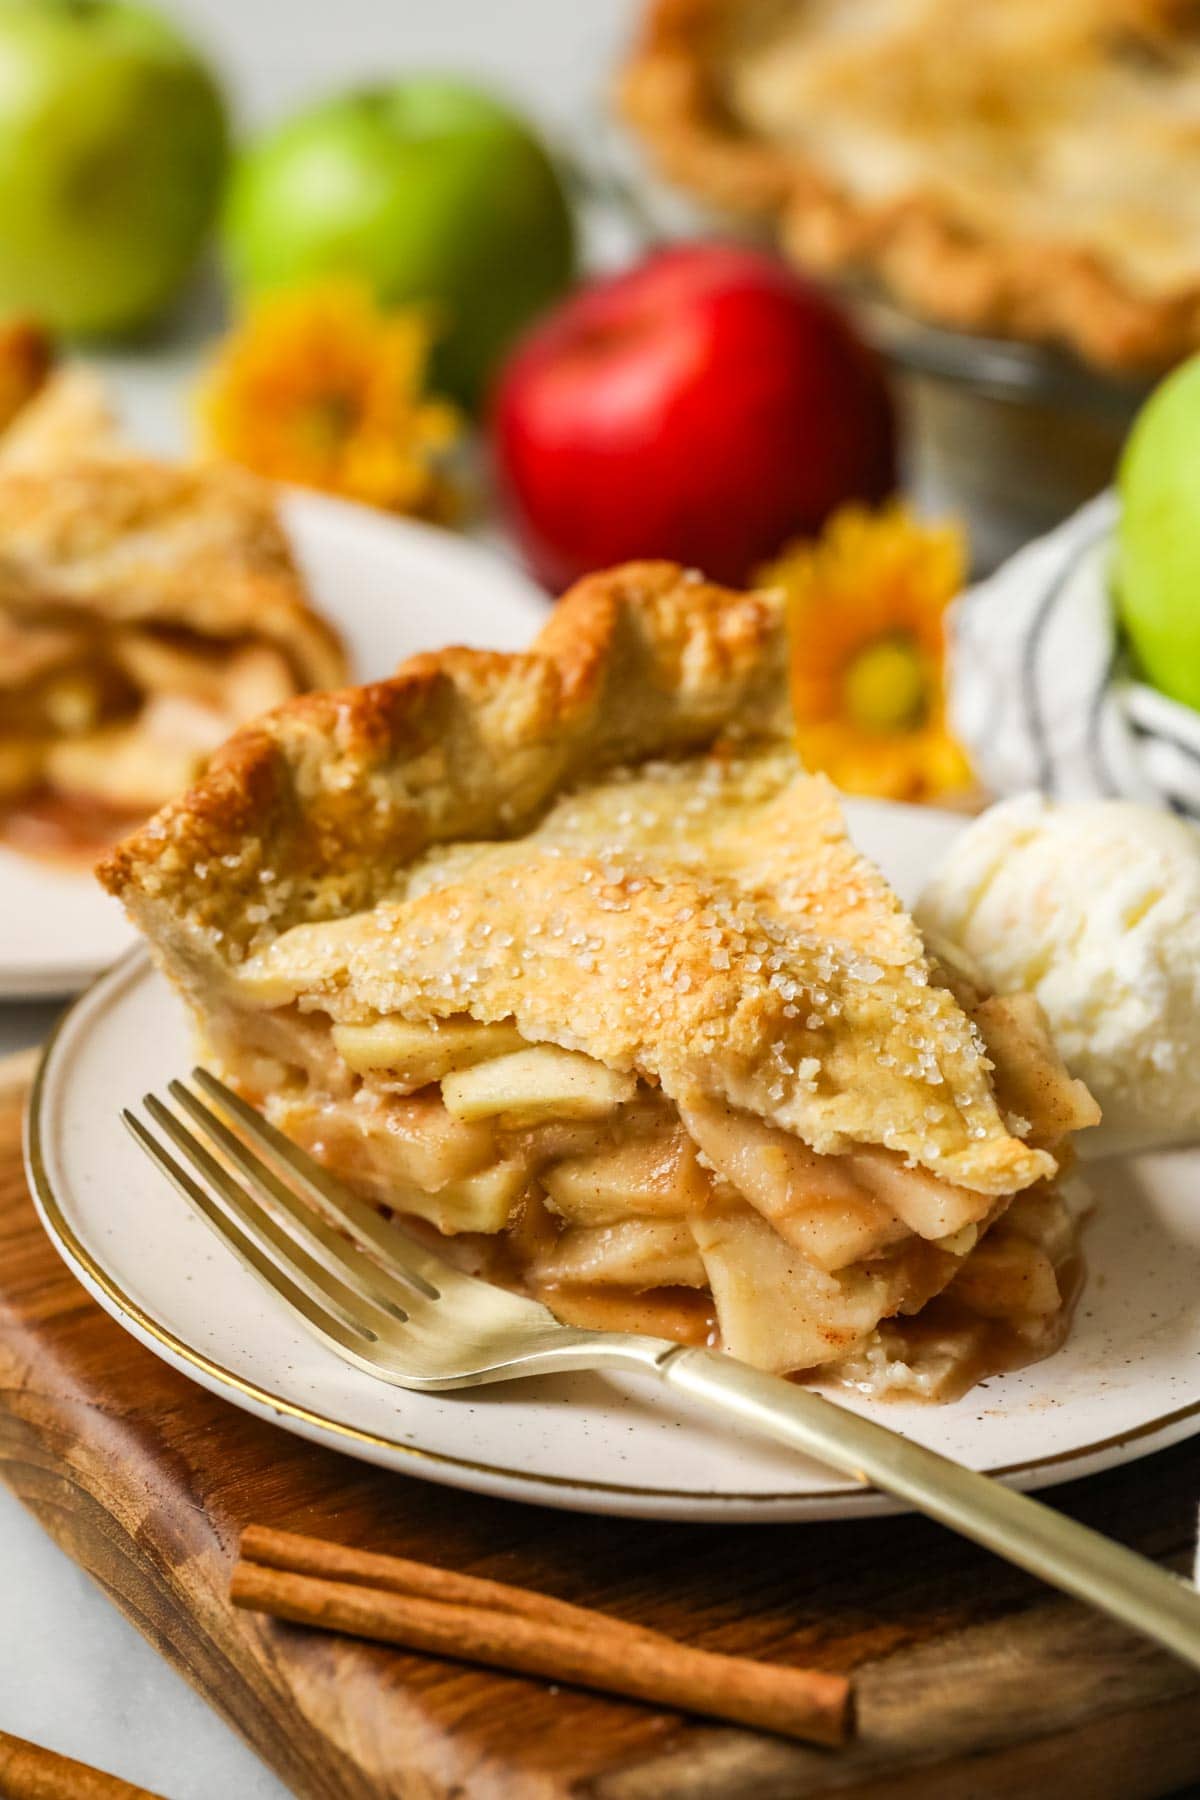
Despite its European origins, apple pie is a staple American dessert (and my personal favorite pie). It’s served at most holidays (even the 4th of July!), and most always with a scoop of vanilla ice cream on top. I’ve had a Dutch apple pie recipe on my website for a few years now, but I’ve really been meaning to share this classic, easy apple pie with you.
Today’s recipe starts with a buttery, flaky pie crust (preferably homemade). We’ll fill it with a fresh, spiced apple filling, dot it with butter, and seal it all up with a second crust. Bake it for about an hour, then let it cool before slicing and serving.
The apples will soften and caramelize in the oven, creating a flavorful and juicy filling without needing to be cooked beforehand. So easy!

Why You’ll Love This Recipe
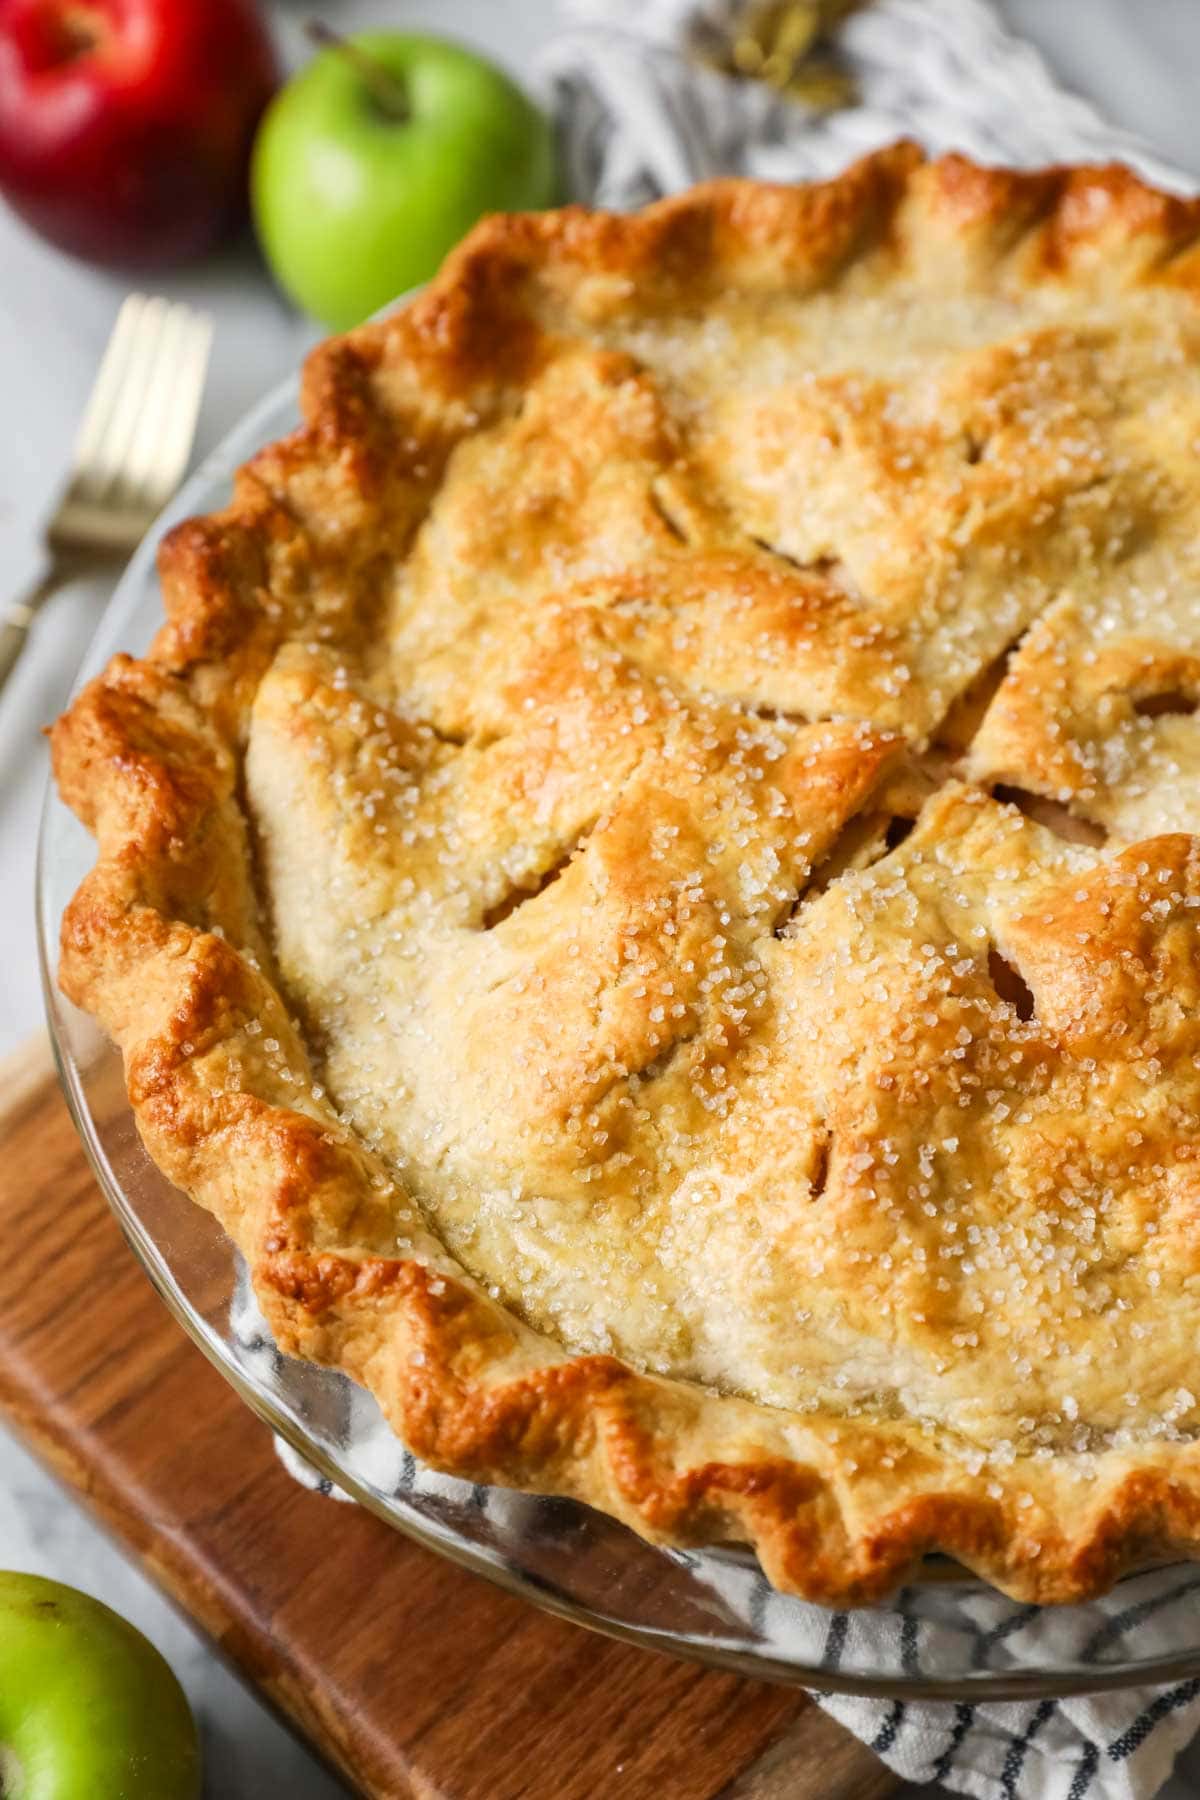
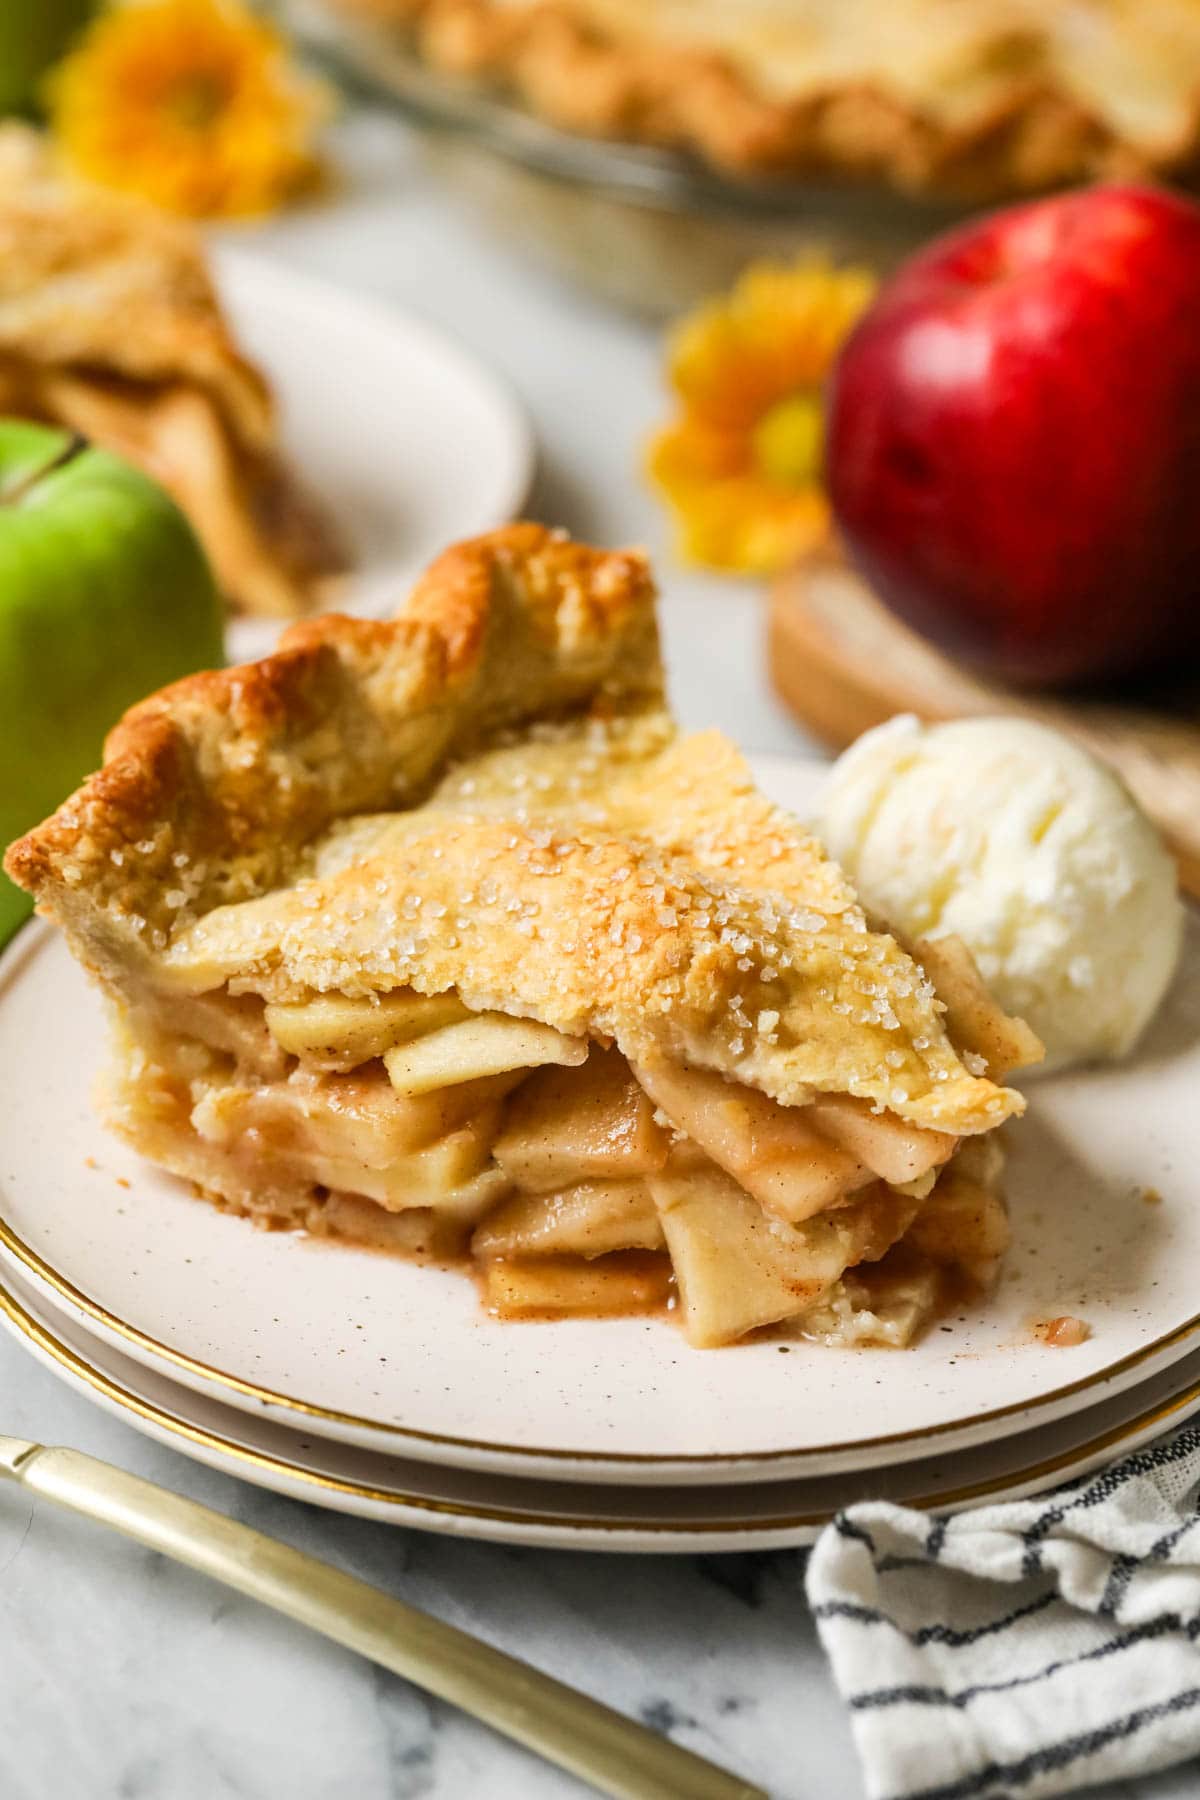
- Works with any crust! I made the pie in today’s photos with my sourdough pie crust (my current obsession), but my classic pie crust recipe works just as well. Alternatively, keep this super easy and use store-bought crust (though I still think homemade is best!).
- No pre-cooking the apples! I skip this step because 1) it works great as written but also 2) this is meant to be an EASY apple pie. When you’re buried in baking pies and casseroles for Thanksgiving, you can very reasonably whip up this recipe.
- Perfect filling texture. Thanks to the type of apples used and the amounts of sugar and flour, the filling is perfectly balanced–not too juicy, dry, or pasty.
- Easy, but satisfying. Even though we aren’t pre-cooking the filling or making a fancy lattice crust (though, you could), this recipe still has that classic apple pie flavor we all know and love!
Ingredients
If you want to learn more about the key ingredients in this recipe, keep reading. Otherwise, scroll to the bottom for the recipe!
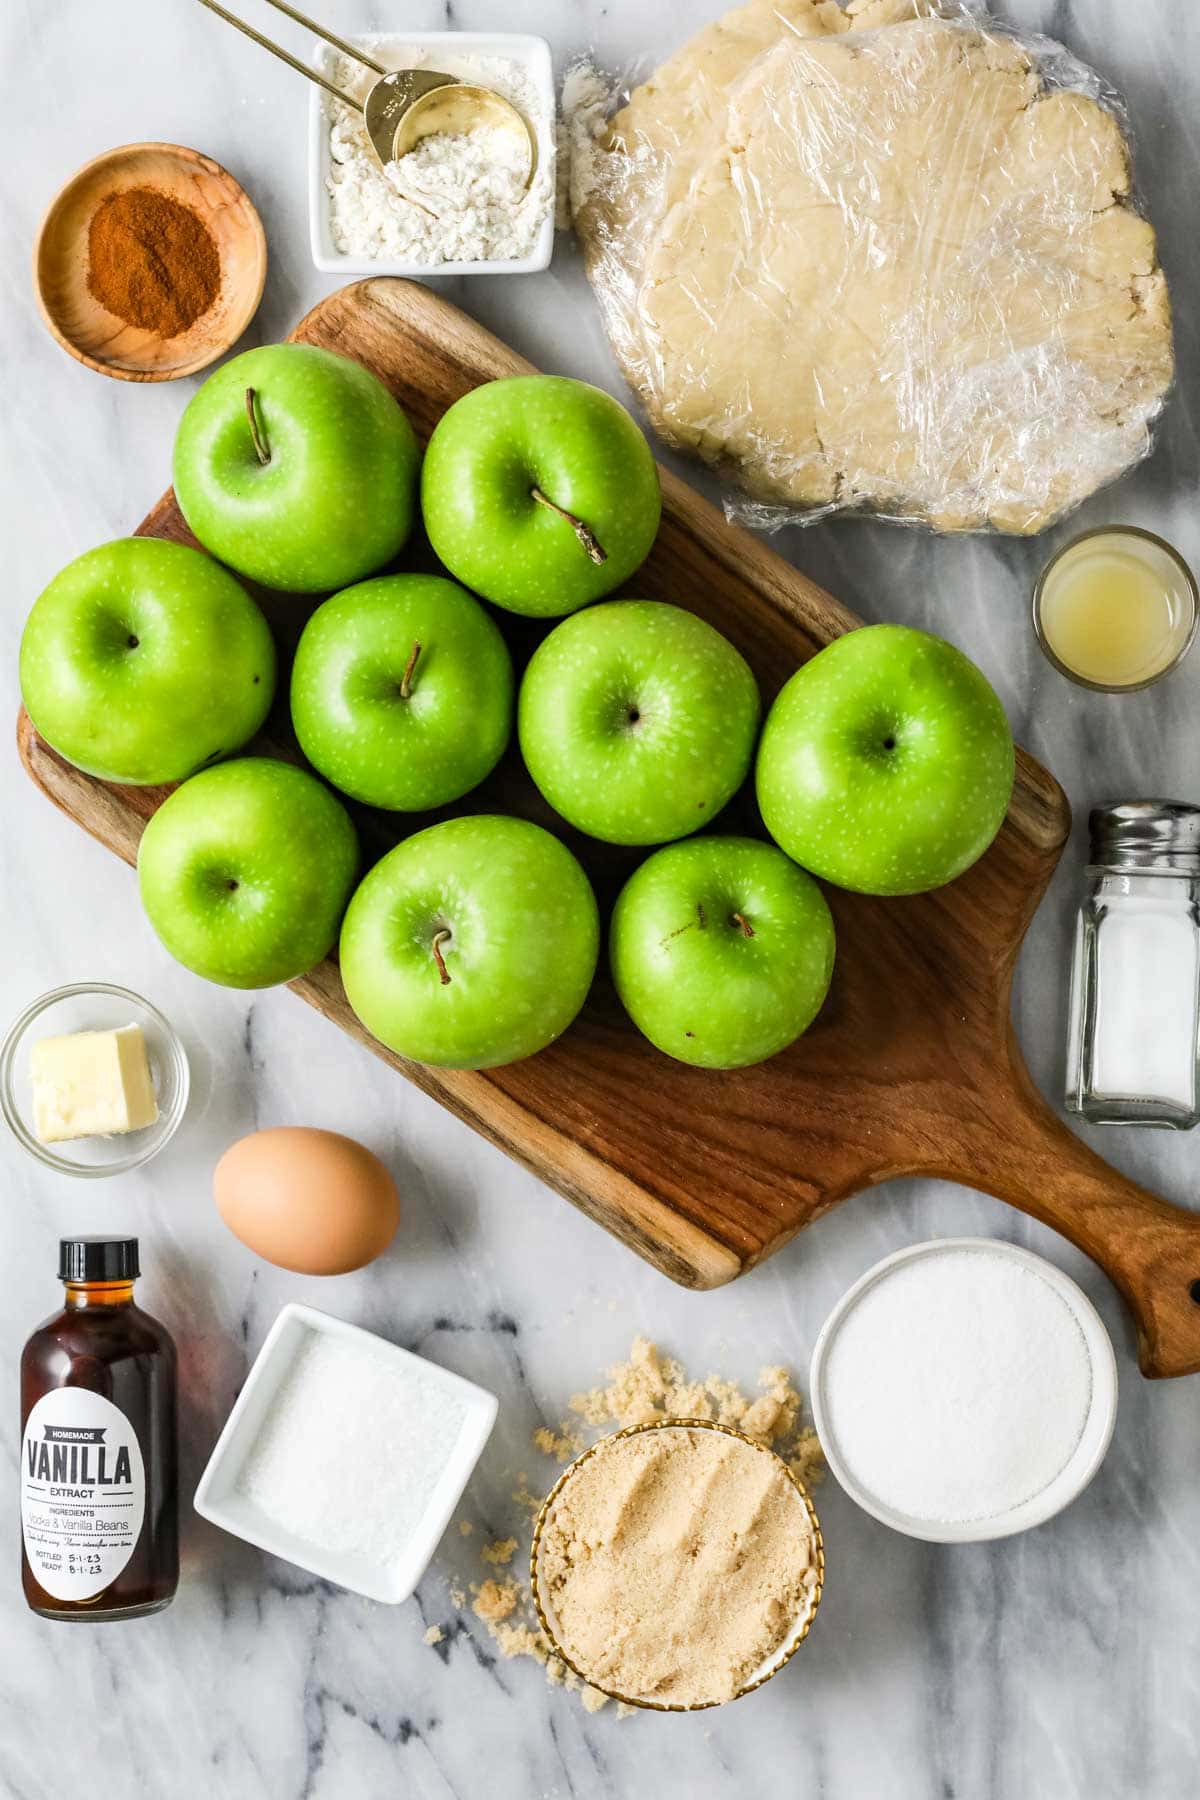

- Apples. Peel, core, and slice your apples into ¼” slices. I talk more about the best apples to use in the FAQ section below.
- Cinnamon. Personally, I like using just cinnamon for a simple spice flavor, but a dash of allspice or nutmeg (⅛ tsp) can add even more spice and warmth to your pie.
- Pie crusts. You could use store-bought pie crust, but I recommend using homemade for the best results. Note that if you use my pie crust recipe, you will need to double the recipe for two crusts.
- Butter. You’ll need just a tablespoon and a half of butter for the filling; we’ll cut this into six pieces and dot the pie with it before adding our top crust. I nearly always almost forget this step, remembering in just the nick of time.
- Vanilla. Just a splash of vanilla extract adds something sweet and special to the filling. Feel free to use homemade vanilla extract if you have it!
SAM’S TIP: I like to top my pie with the same bakery style sugar from my banana bread cookies and sourdough chocolate chip muffins (and that’s what I used for the pie in the photos and video). It’s so pretty and adds a nice texture!
Remember, this is just an overview of the ingredients I used and why. For the full recipe please scroll down to the bottom of the post!
How to Make my Easy Apple Pie
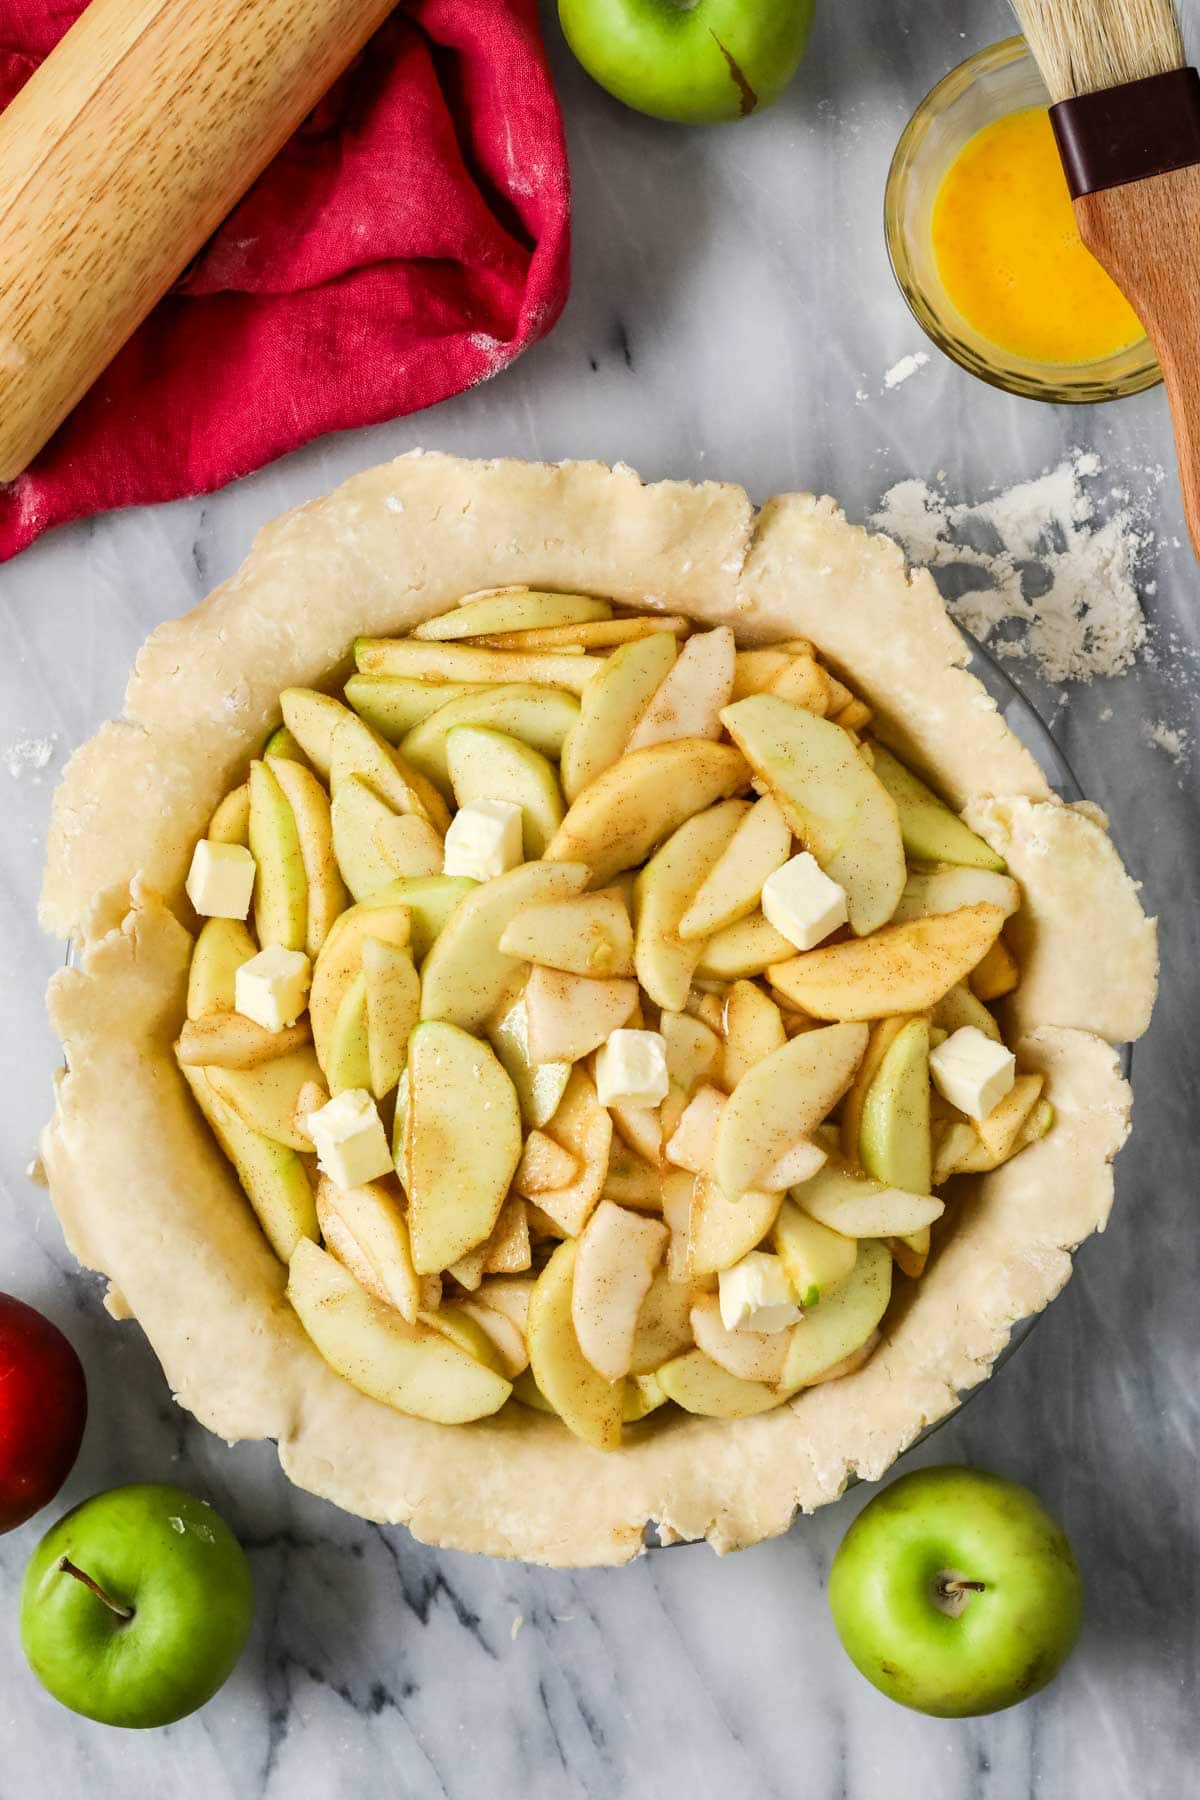

Make the filling
Stir together the sugars, flour, cinnamon, and salt in a large bowl, then add the apples, lemon juice, and vanilla. Toss to thoroughly coat the apples, then set aside. You’ll notice that the filling will get juicy as it sits, if there’s a lot of excess juice, I leave it behind in the bowl to keep the pie from getting soggy, but usually there’s just a small bit and I mix it right in with my apples.
I recommend brushing the bottom of the pie crust with egg wash before you add the apple mixture to create a barrier between the filling. This helps keep the crust from getting too soggy. After adding the filling, dot it with small cubes of butter, these will melt into the filling and help create an incredible flavor.
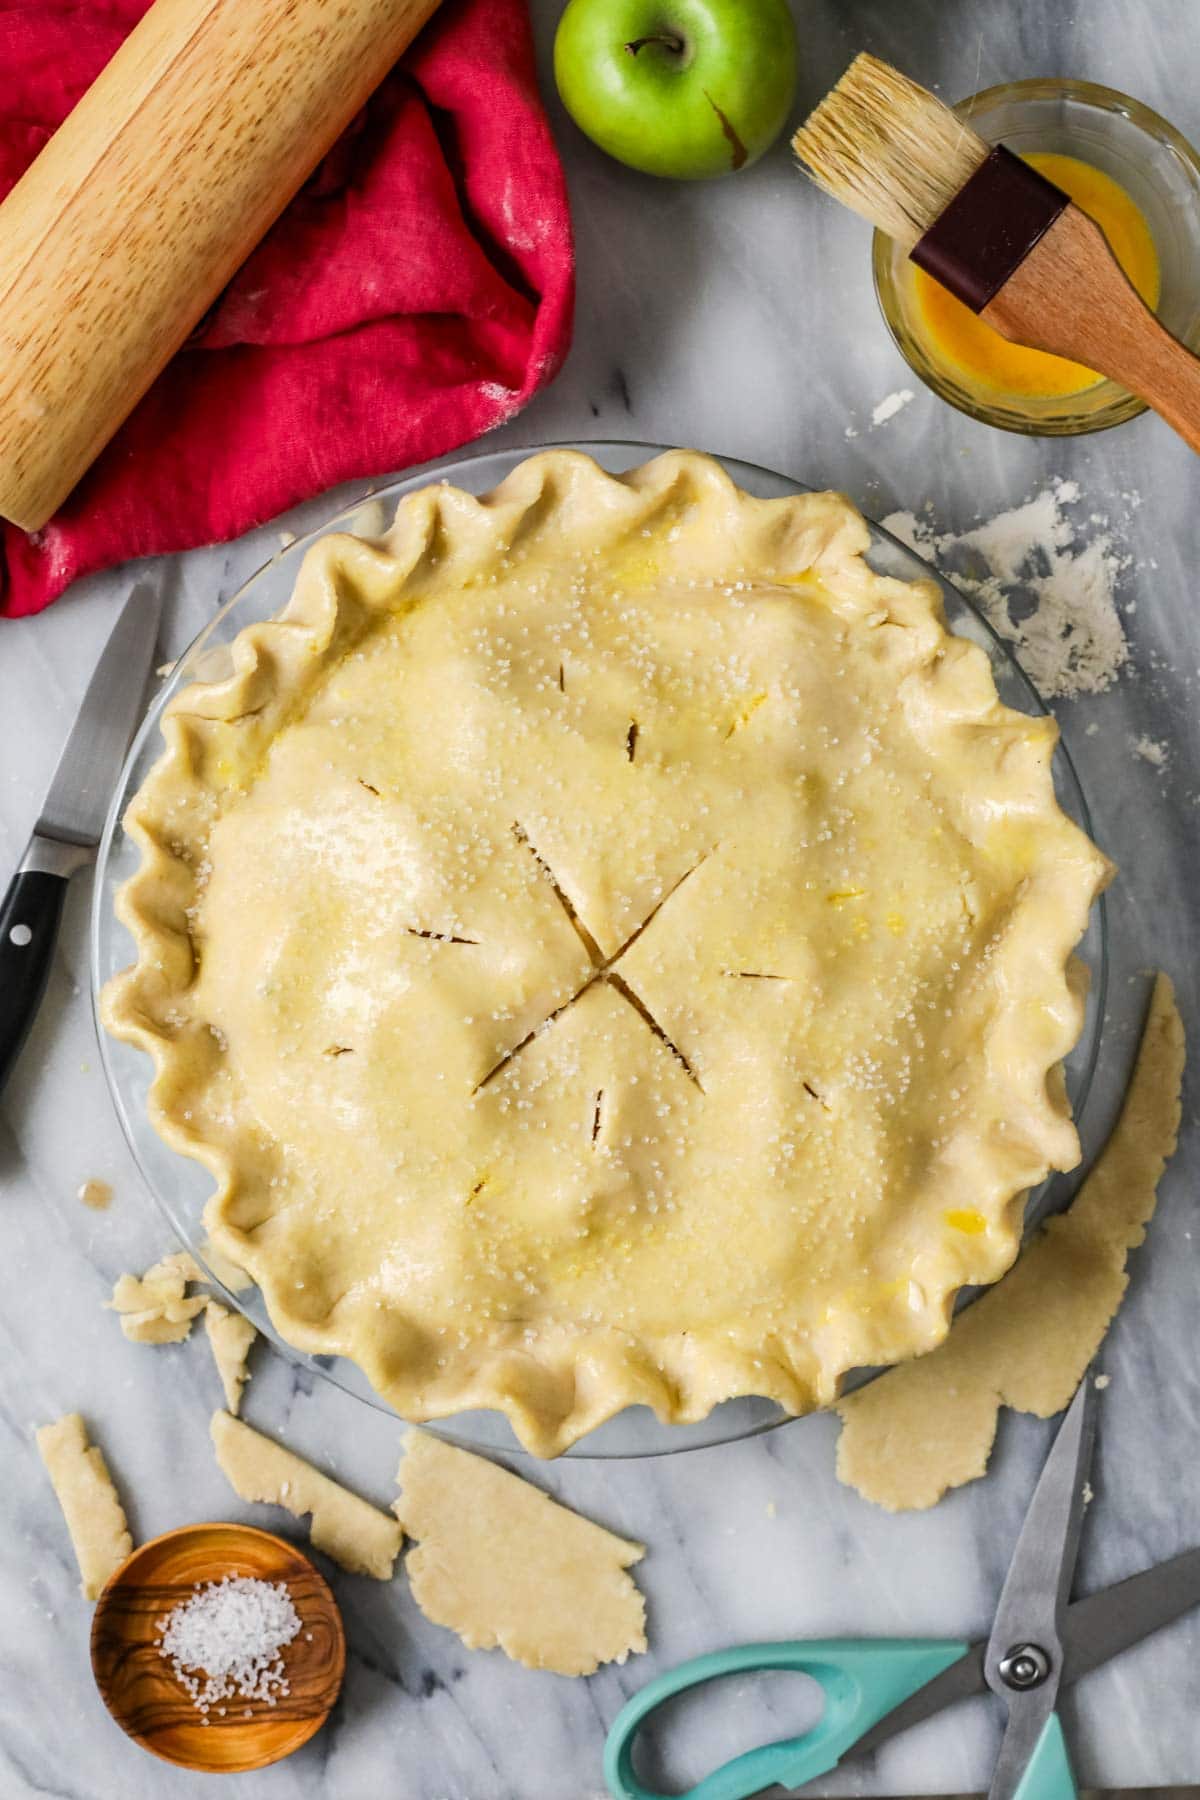

Add the top crust
Roll your second pie crust into a 12″ circle, then lay over your pie plate. Fold and crimp/flute the edges, then cut vents into the top.
Brush the crust with more egg wash and sprinkle with coarse sugar, if desired (regular granulated sugar will work here, too, it’s just not as visually evident after the pie bakes).
SAM’S TIP: If you’re egg-free (or serving someone who can’t eat eggs) you can skip the egg wash, the crust just won’t brown as much. I would lightly brush the surface of the pie with milk, cream, or even water to help the sugar adhere to it while it bakes.
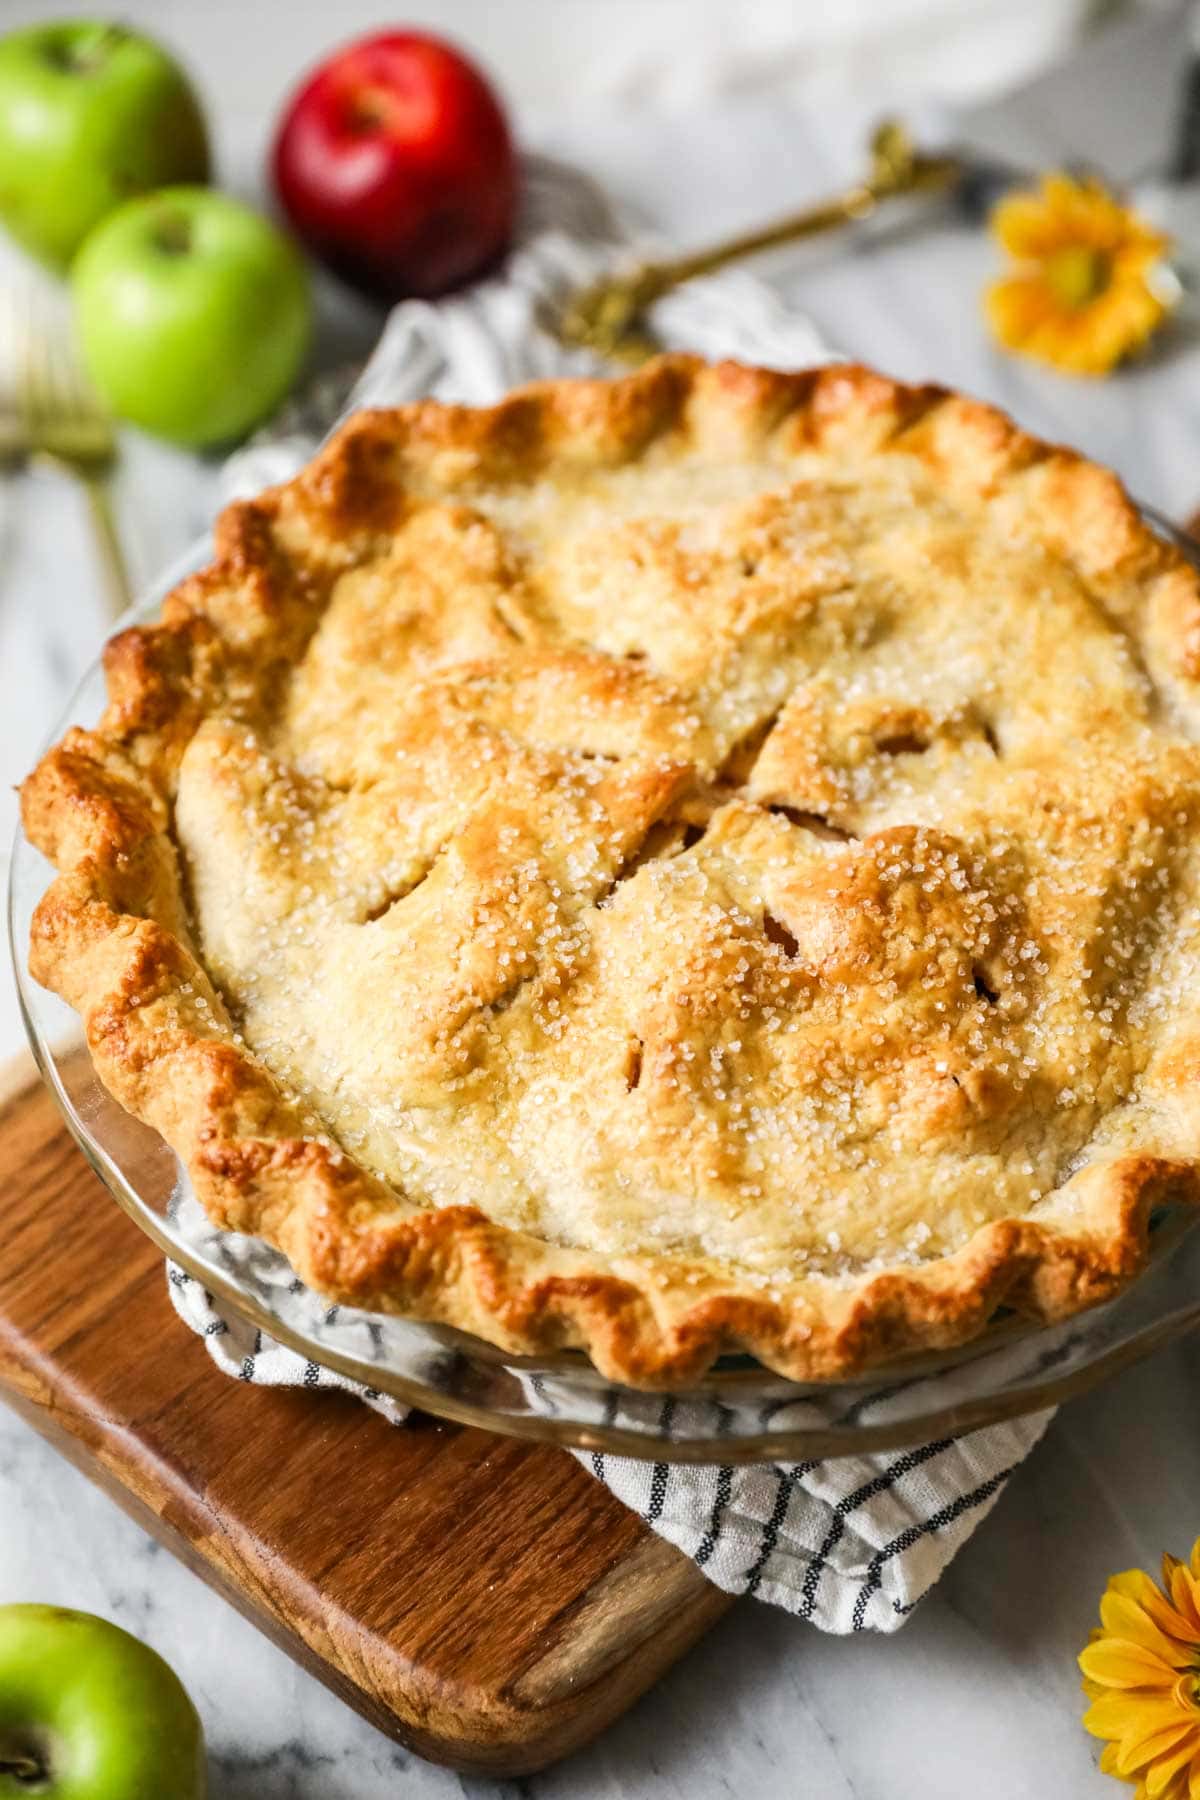

Bake the pie
Place your pie plate on a foil lined rimmed baking sheet (to catch any overflowing juices, usually this doesn’t happen but it’s better to be prepared!) and bake.
I bake this pie on two temperatures, starting with a higher one (425F) then reducing the time to bake it all the way through. You’ll know your pie is done when the apples are tender and the crust is golden brown. I use a wooden skewer to pierce into the center of the pie and make sure the apples are perfectly softened.
SAM’S TIP: If your pie starts to get too brown, tent it with foil. This will protect the crust while the filling finishes cooking. I show how I quickly and easily make a crust shield in my video (in the recipe card below).

Frequently Asked Questions
Firm apples are best here, just like when making apple crisp. I usually go for a mix of tart and sweet apples, like Granny Smith and Gala. You could alternatively use a tart/sweet apple like Fuji, Golden Delicious, or Honeycrisp.
Softer apples like Red Delicious and McIntosh aren’t ideal for apple pie–save those for applesauce or apple butter!
I know I said this was an easy apple pie recipe, but that doesn’t mean it’s completely effortless! Yes, I really recommend you peel your apples before slicing them. Apple peels become tough when baked, and that texture just isn’t pleasant in the final product. So for the best tasting, but still easy apple pie, peel your apples!
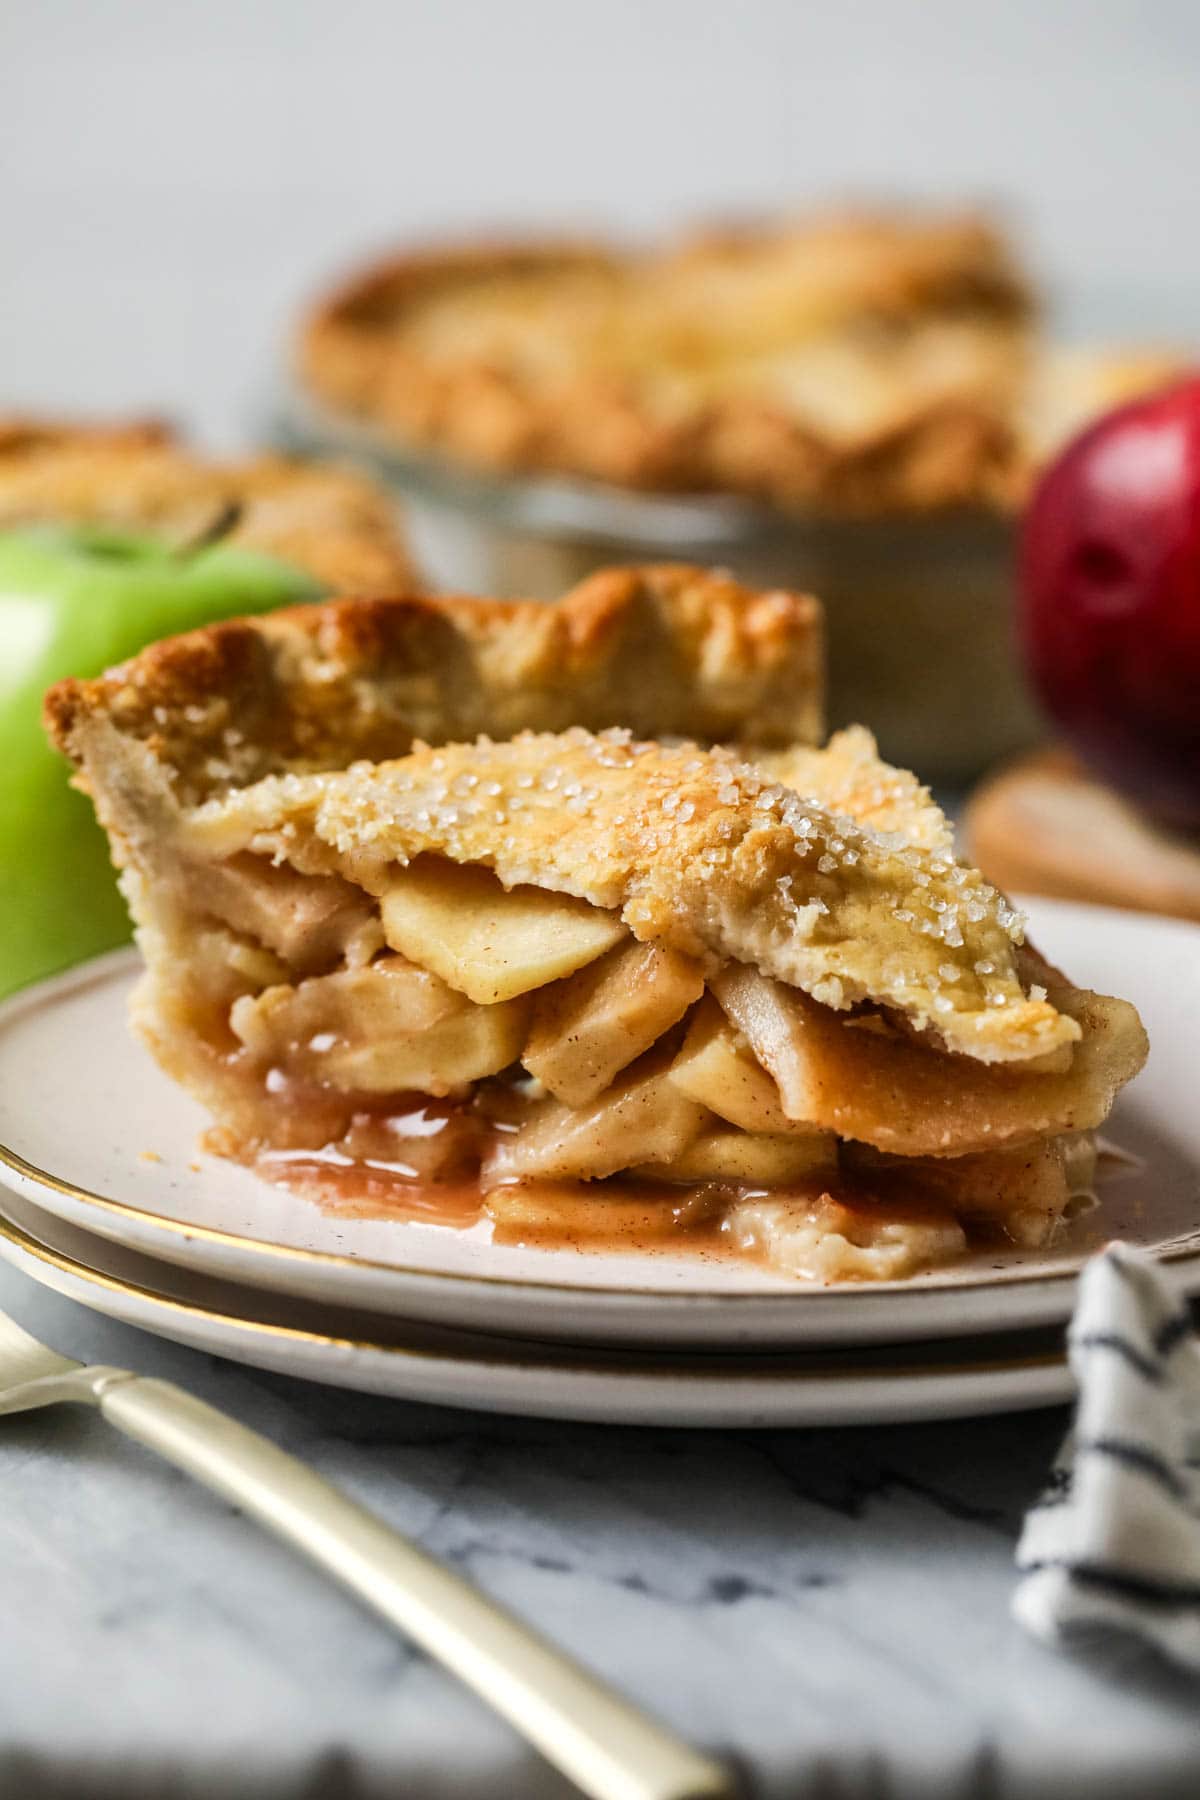
If you followed the recipe, the most likely culprit is cutting the pie while it’s still too warm. This pie needs to cool for several hours before you can cut into it; otherwise the filling will be far too runny. The same goes for my blueberry pie!

If you’re looking for more all-American desserts, try my strawberry pretzel salad or pecan pie.
Enjoy!
Let’s bake together! Subscribe to my newsletter to be notified of all the newest recipes, and find my free recipe tutorials on YouTube 💜


Easy Apple Pie
My easy apple pie is quick and simple to make! There’s no need to pre-cook the filling, and you can use homemade or store-bought crust.
Print
Pin
Rate
Servings: 10 servings
Calories: 344kcal
Prevent your screen from going dark
Instructions
-
Prepare pie crust doughs through step 4, forming into a disc, wrapping, and chilling for at least 45 minutes before proceeding (or you may use store bought pie crusts). While they chill, preheat oven to 425F (220C) and prepare your filling.
2 pie crusts
-
In a large mixing bowl, whisk together sugars, flour, cinnamon, and salt.
¼ cup (50 g) light brown sugar, ¼ cup (50 g) granulated sugar, ¼ cup (32 g) all-purpose flour, 1 teaspoon ground cinnamon, ½ teaspoon table salt
-
Add apples, lemon juice, and vanilla extract and toss together until apples are thoroughly coated with the mixture.
3 lbs (1.36 kg) firm, tart apples, 1 Tablespoon lemon juice, ½ teaspoon vanilla extract
-
Remove one pie dough from the fridge and transfer to a lightly floured surface. Roll into a 12” (30cm) circle and then arrange into a 9” (23cm) or 9 ½” pie plate.
-
In a separate, small bowl whisk together egg and 1 teaspoon of water until thoroughly combined to create your egg wash. Remove pie plate from the fridge and lightly brush the pie dough with egg wash.
1 egg
-
Briefly stir apples and pour into the prepared pie plate. Place butter pieces evenly over the apples. Set aside.
1 ½ Tablespoons (21 g) salted or unsalted butter
-
Remove your second pie crust dough from the refrigerator and roll it into a 12” (30cm) circle. Cover the apple pie and with the second crust. Fold the excess crust underneath and flute or crimp the edges. Cut vents into the top of the pie dough (I do a large “X” then some smaller dashes).
-
Using your prepared egg wash, brush the top pie crust with an even layer and sprinkle all over with coarse sugar.
Coarse granulated sugar
-
Place on a rimmed, foil-lined baking sheet and transfer to 425F (220C) preheated oven. Bake for 15 minutes, then reduce the oven temperature to 350F (175C) and continue to bake for another 45-55 minutes, until apples are tender and crust is golden (use a wooden skewer to test that the apples are tender enough to be easily pierced). Keep an eye on the crust and if the edges begin to over-brown, lightly tent them with foil (I just take a large piece of foil, cut a hole in the center, then rest it over the pie so the edges are covered).
-
Allow to cool for at least several hours before cutting into and enjoying. Apple pie is best served warm with a generous scoop of vanilla ice cream!
Notes
Crust
I like to use my classic pie crust recipe (I used this in my video), but my sourdough pie crust is a current favorite of mine and what I used for the photos in this blog post.
Apples
A firm apple is best. Granny Smith work well and yield a more tart pie, I like and recommend that you use a mix of Granny Smith and a sweeter apple like Gala. Honeycrisp, Fuji, Braeburn, Gala, and Golden delicious are all good options.
Storing
Apple pie is fine to sit at room temperature (in a cool place) for a day or two, just cover with foil or plastic wrap. If you’d like to keep it longer, store (covered) in the refrigerator for up to 4 days.
Reheating
To reheat, you can warm individual slices in the microwave or place in a 350F (175C) oven (loosely tented with foil) until warmed through, usually 10-15 minutes.
Nutrition
Serving: 1serving | Calories: 344kcal | Carbohydrates: 33g | Protein: 15g | Fat: 17g | Saturated Fat: 5g | Polyunsaturated Fat: 5g | Monounsaturated Fat: 6g | Trans Fat: 0.1g | Cholesterol: 21mg | Sodium: 282mg | Potassium: 53mg | Fiber: 2g | Sugar: 11g | Vitamin A: 77IU | Vitamin C: 1mg | Calcium: 187mg | Iron: 3mg
Nutritional information is based on third-party calculations and should be considered an estimate only. Actual nutritional content will vary based upon brands used, measuring methods, cooking method, portion sizes, and more.

