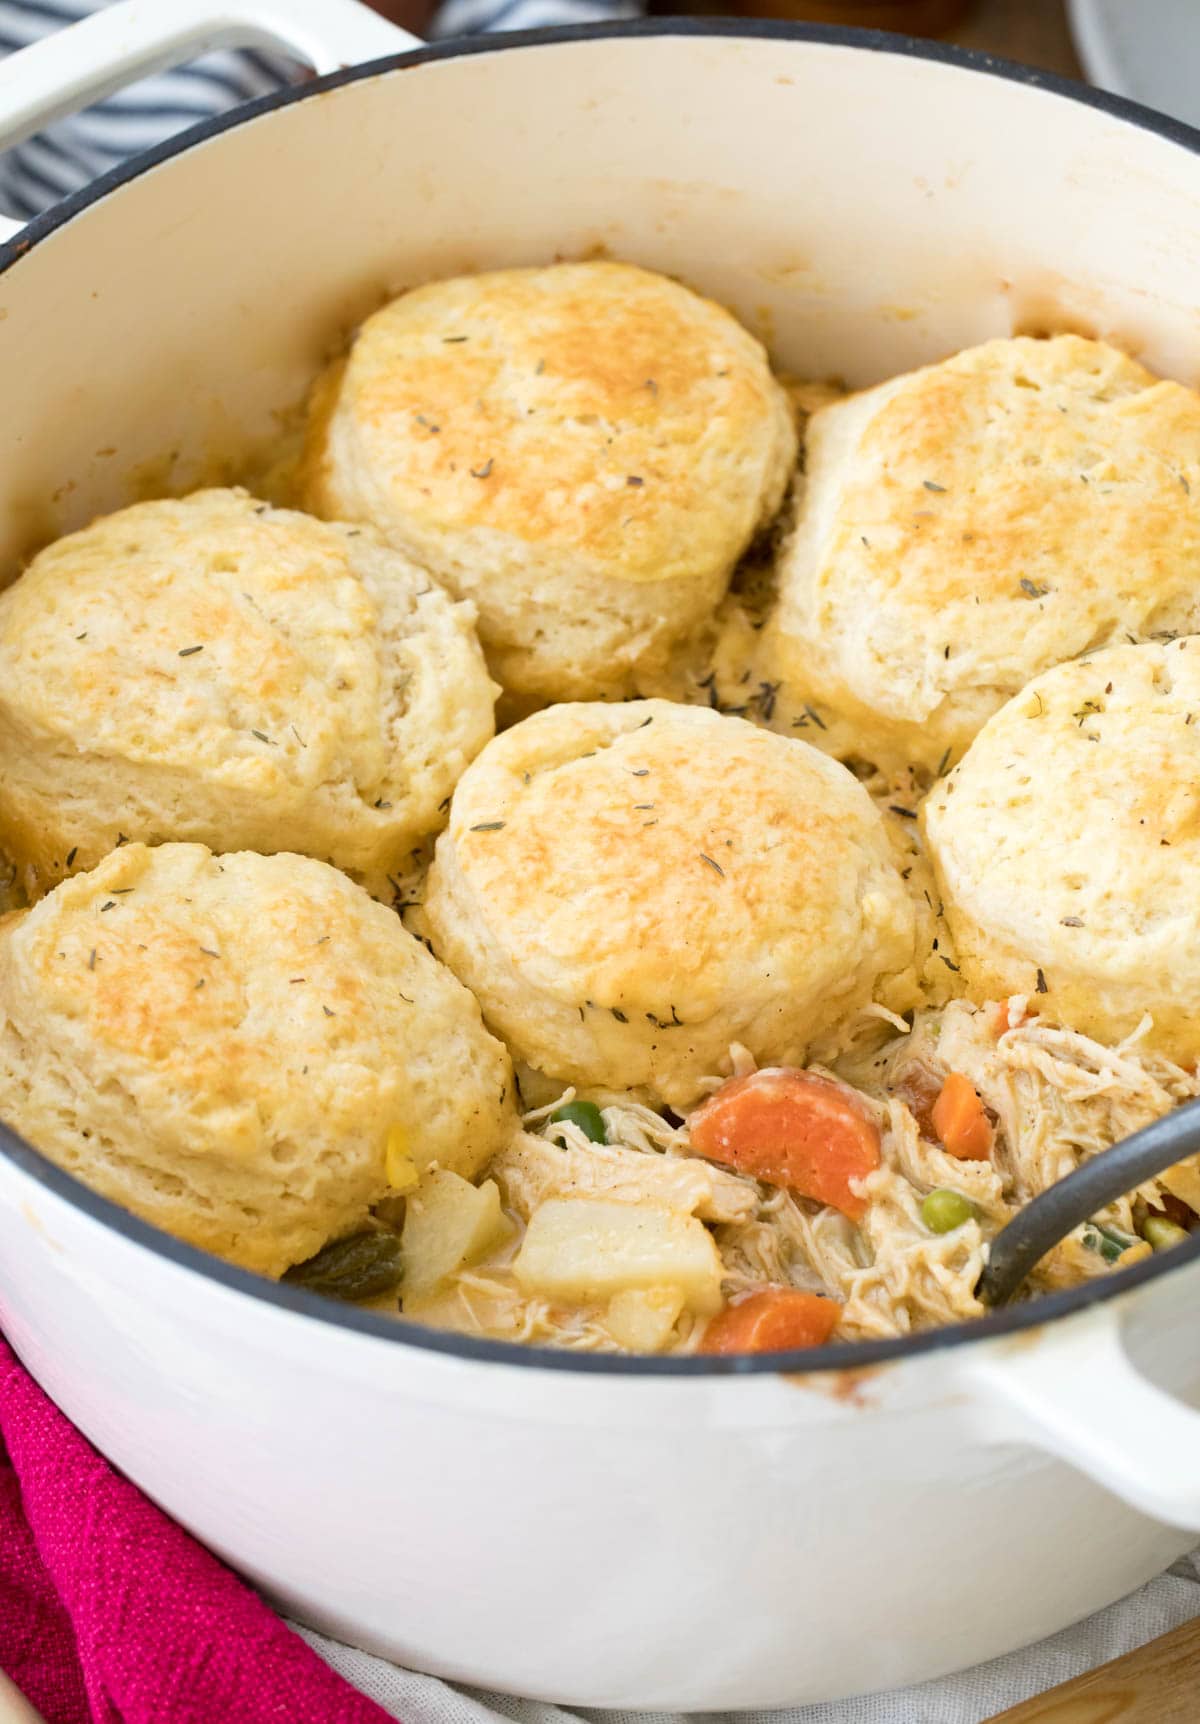
Once you try this chicken pot pie with biscuits, you’ll never go back to the classic pie crust topping again. My recipe comes together in under an hour, is completely from scratch, and is great for meal prepping (most of the components can be prepped in advance!). Includes a video tutorial.


The Ultimate Cozy Comfort Food
One of my top 5 comfort foods, chicken pot pie with biscuits is a hearty, warming and oh-so-cozy dish that’s an entire meal in and of itself, no side dishes needed.
What’s to Love
- Great for making in advance. I love to make the components in advance, then just toss everything together and drop it in the oven for an easy weeknight dinner. If you want to make everything in one go, you’ll still be able to finish it within an hour.
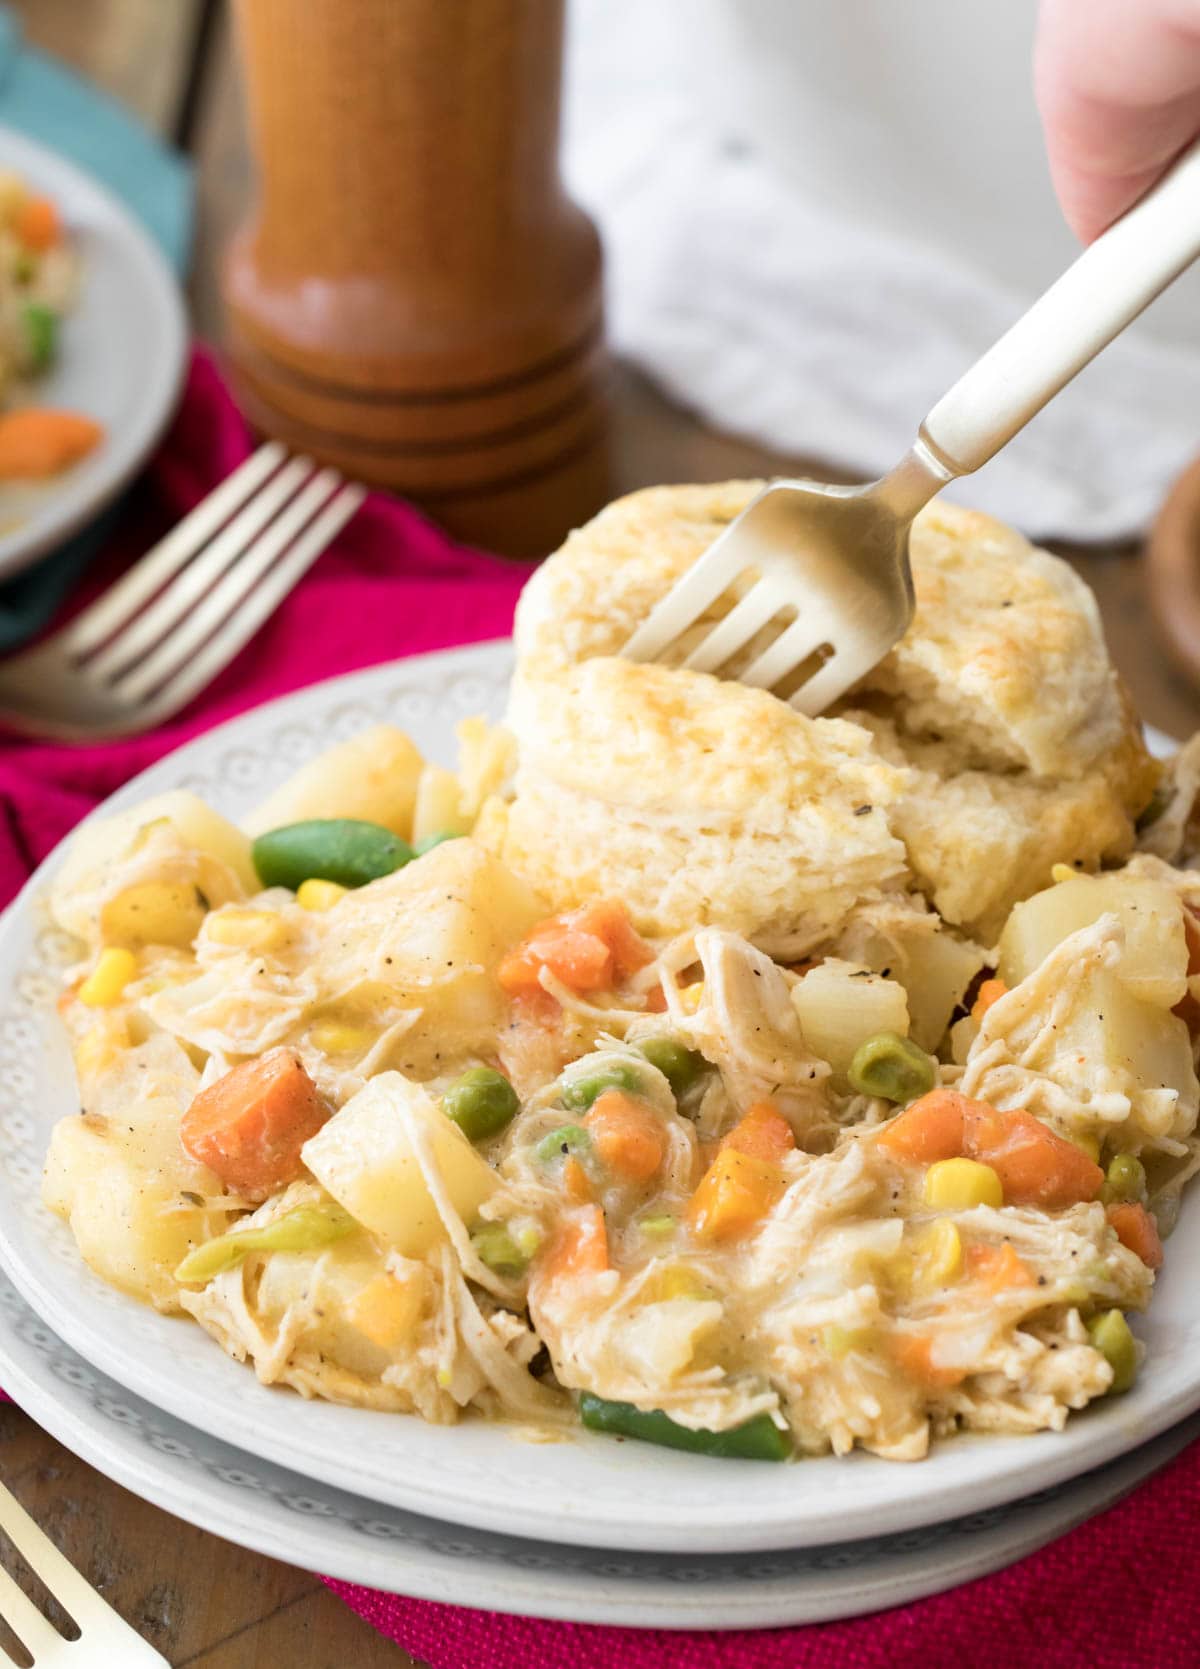
- It’s a full meal. While a salad on the side wouldn’t hurt, this is really a filling and complete meal on its own. You’ve got your meat, veggies, and biscuits all in one pot.
- Made from scratch. Of course you can use canned biscuits if you must, but this recipe is written so you can make it entirely from scratch.
- Versatile. Swap in your favorite veggies or swap out the heavy cream for whatever dairy (or non-dairy) milk is in your fridge.
This recipe is also super nostalgic to me. I have so many warm memories of my grandmother making a giant batch of chicken pot pie with biscuits and then sharing it for dinner by the wood stove (followed by her cream puffs or apple dumplings for dessert!).
I’m not sure how the weather is where you are, but there’s a chill in the air here and I’m hungry, so let’s learn how to make chicken pot pie with biscuits.
What You Need
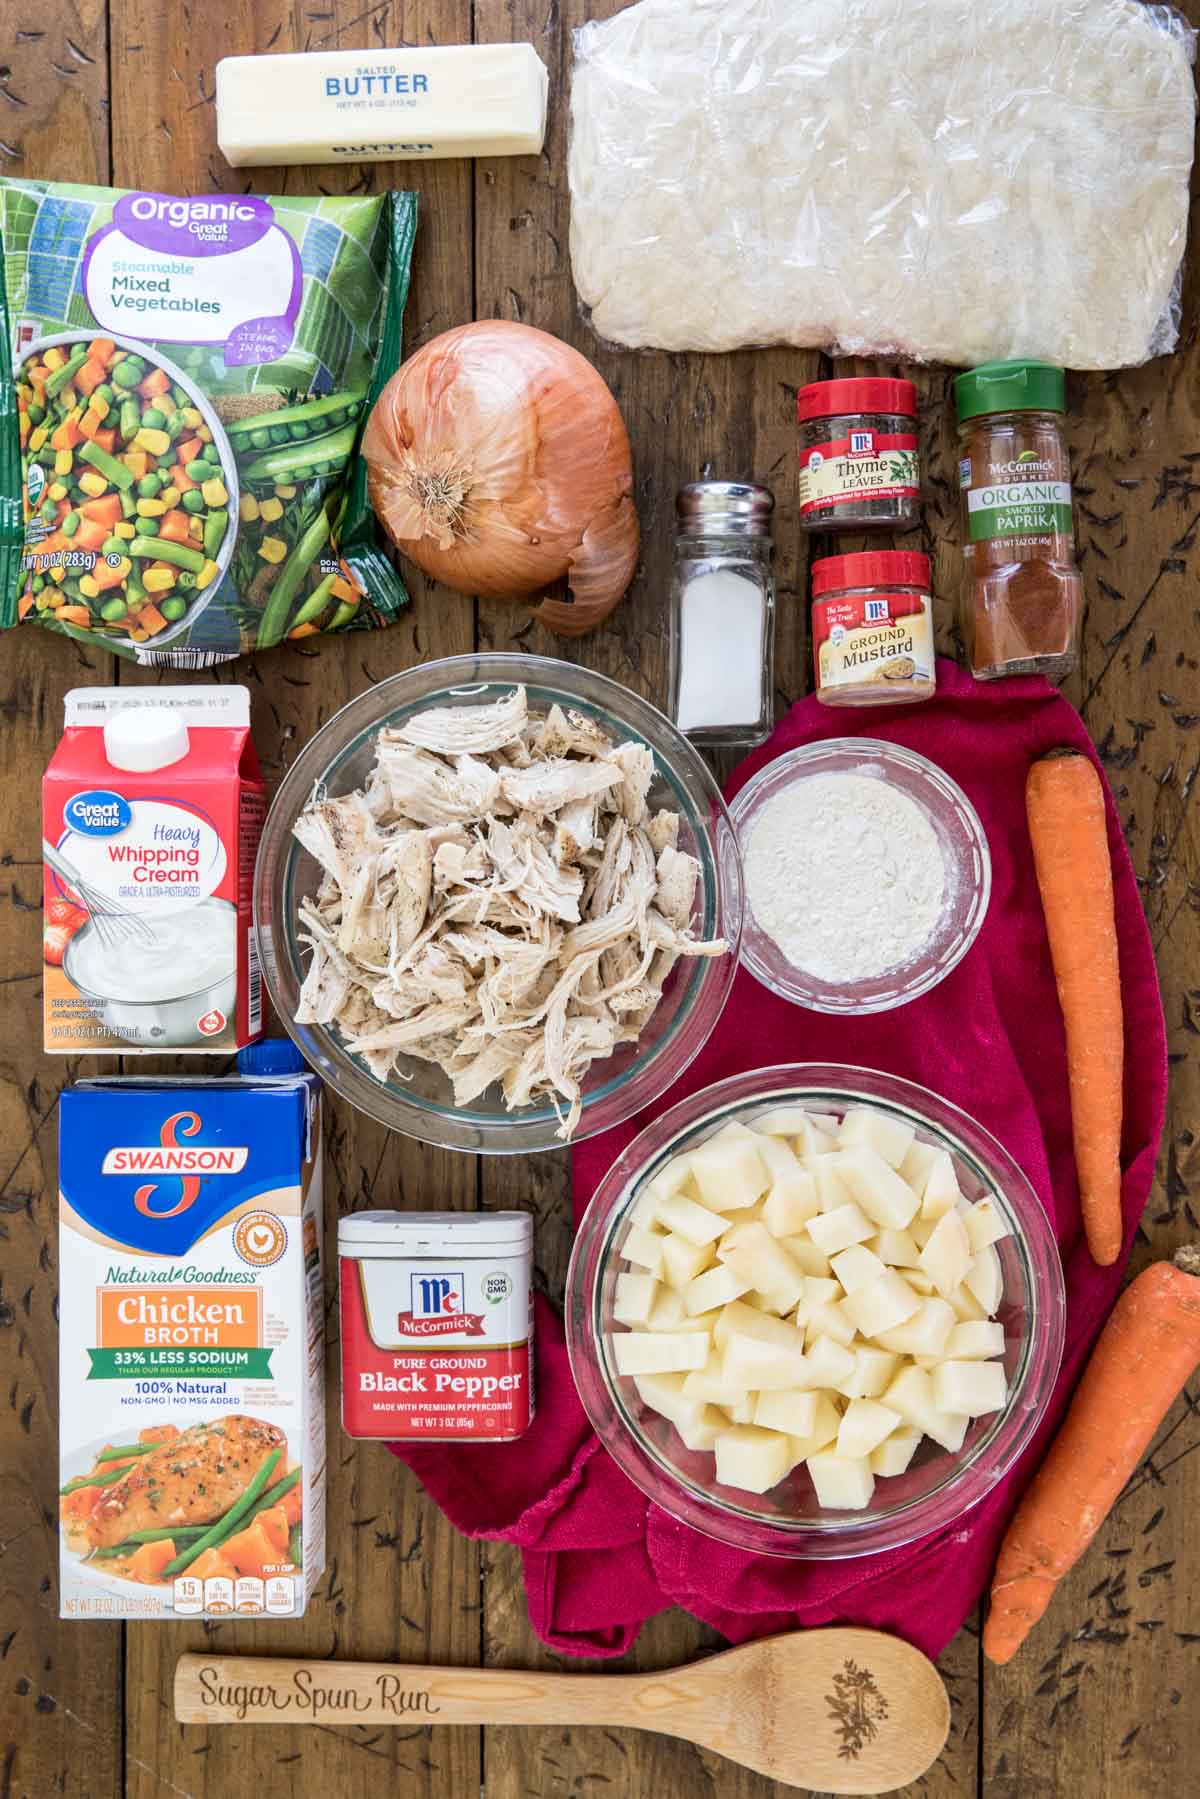
Let’s talk a little bit about the ingredients we’re using:


- Biscuit dough. I’m using a slightly scaled up version of my biscuit recipe. I originally just used the recipe as written but Zach decided he needed more biscuit, so here we are. In a pinch, sure, you could substitute one of those tubes of store-bought biscuits, but my recommendation is from scratch. You’ll need flour, baking powder, sugar, salt, milk, and butter to make these at home.
- Chicken. You’ll need pre-cooked chicken for this recipe (it’s great if you have leftovers you need to use!). You can buy and pick a rotisserie chicken, dice some cooked chicken breast, or you can shred your chicken in the slow-cooker or in the instant pot. You can substitute turkey if you have that, but I do have a turkey pot pie I prefer that suits that meat better!
- Veggies. I use fresh onion, potatoes (russet are my preference, though just about any would work) and fresh carrots, as well as frozen mixed veggies.
- Butter and flour are used to thicken the sauce (we’re making a simple roux).
- Chicken broth. These days I have been making my chicken stock from scratch, but store-bought will work just fine. You could also use vegetable broth.
- Heavy cream. This adds body to the chicken pot pie with biscuits and a subtle creaminess (without making it too rich). You can use heavy cream, whipping cream, double cream, or even half and half or milk, just keep in mind these will make the sauce a bit thinner.
- Spices: Salt and pepper, I list amounts but always taste-test and adjust as needed, as your chicken or broth may have more or less flavor than mine. Smoked paprika is my secret ingredient for the best flavor (it’s not a traditional pot pie ingredient but it’s so good, I also use it in my chicken and rice soup!), ground mustard, and just a dash of dried thyme
This is just an overview of the ingredients I used and why. For the full recipe please scroll down to the bottom of the post!


How to Make Chicken Pot Pie with Biscuits
Make the Biscuits
I like to make the biscuit layer in my food processor. This makes quick work of things, is less messy, and is also the technique I use for making my scones (cause it’s just so darn easy). If you don’t have a food processor or just don’t want to lug yours out, I’ll include notes in the recipe card to make this layer without one.
- Combine the dry ingredients. Just toss everything in the basin of your food processor and give it a few pulses.
- Add the butter. Cold butter is strongly recommended. Cut it into cubes or slices and scatter it over the dry ingredients, then give it a few pulses until you have pea-sized pieces remaining.
- Add the milk. Pour this evenly overtop, then pulse again until the dough clings together.
- Form into a disk. Then wrap in plastic wrap and chill in the refrigerator while you make your filling.
SAM’S TIP: Feel free to make and use my sourdough biscuits instead — yum!
Make the Pot-Pie Filling
- Melt butter in a large pot or skillet, then add the onion and cook until softened.
- Add flour and stir until it’s been absorbed by the butter and onions. Cook another minute longer to help toast the flour a bit and develop the flavor. This step is your roux, which adds body to the pot pie filling.
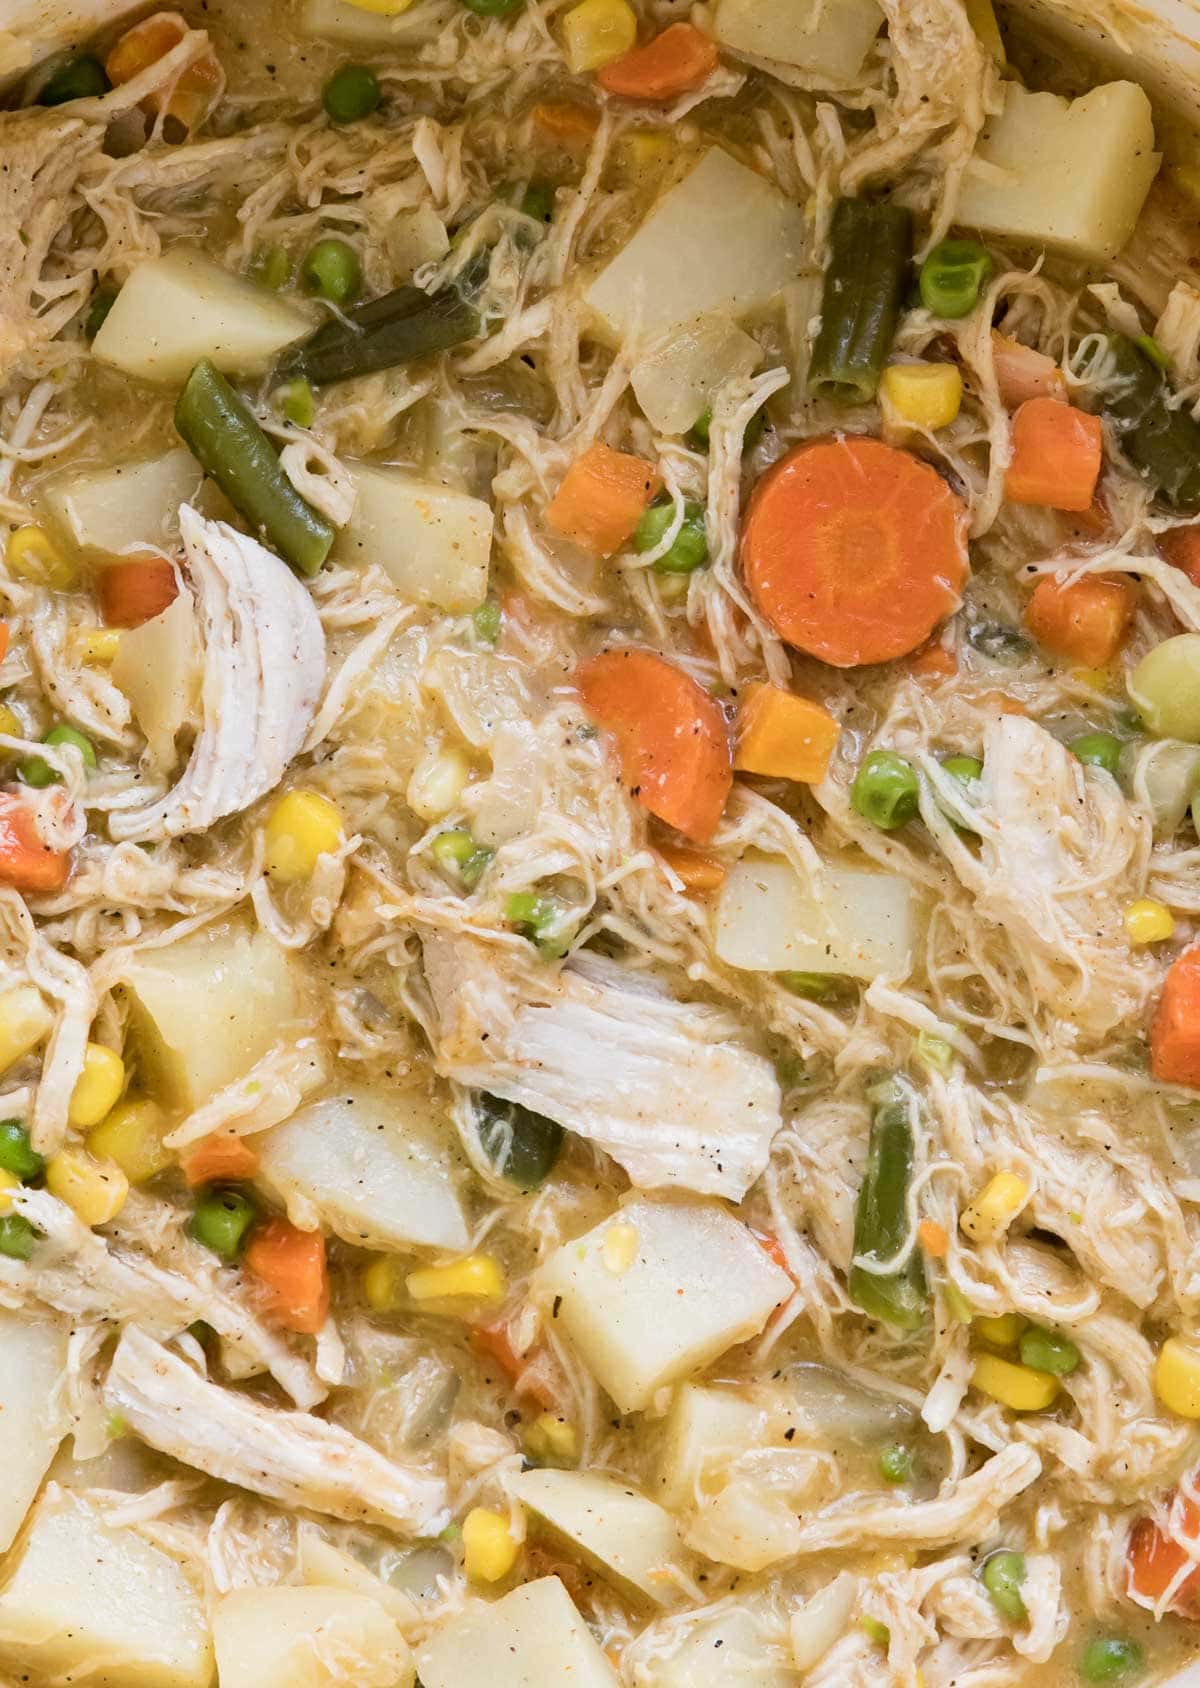
- Add broth, spices, and veggies and bring everything to a boil. You’ll want the potatoes to be tender when pierced with a fork before you proceed.
- Add the chicken. Stir so it’s well distributed.
This filling layer is very similar to how I make my chicken pot pie soup, just obviously much thicker!
Assemble and Cook
- Cut the biscuits and assemble over your filling. You can use a biscuit cutter, a cookie cutter (make sure it’s at least 2″ in diameter) or just use a knife to cut into squares. If you’d like, brush the tops of the biscuits with an egg wash to encourage them to brown in the oven.
- Bake. Most of the ingredients we’ve used are already cooked through (like the chicken and veggies) but moving our chicken pot pie with biscuits over to the oven allows the filling to thicken a bit and cooks the biscuits, of course.
SAM’S TIP: When cutting your biscuit dough, always press straight down (whether using a knife or a biscuit cutter) rather than sawing into the dough. This ensures that the biscuits will rise straight up rather than leaning.
Your whole entire house is going to smell amazing the whole time you’re cooking this. Yum.
Frequently Asked Questions
Yes! Store the biscuits and the filling separately for up to 2 days (wrapped or in an airtight container in the refrigerator). When ready to bake, cut the biscuits, assemble them on top, and then bake as indicated (you may find that you need several additional minutes in the oven).
Skip the steps in the recipe for making the biscuits and prepare my pie crust instead. Let it chill while you prepare the filling, then roll out the crust and place it over the pot pie, vent the top (a few quick slashes in the surface) then bake as indicated. You can brush with egg wash for a more golden brown crust, or skip this step.
This makes too much filling for a single pie dish unless you have an unusually deep one, so I recommend baking in a large pot or Dutch oven instead. It may fit in two pie plates, but I haven’t tried it myself to say for sure.


Tips for Making Chicken Pot Pie with Biscuits
- Plan ahead for an easy weeknight meal. The components can be made ahead of time so you can do the prep work and just toss everything together when you’re ready for dinner. I include detailed notes for this in the recipe and in the FAQ above.
- You can substitute store-bought biscuits (unbaked, think like the Pillsbury canned version) for the from-scratch ones I made here.
- You can swap half-and-half, whole milk, or a nut milk for the heavy cream called for. Note that any of these swaps will make a thinner filling, but it still works quite well.
- Feel free to swap out the veggies for whatever you have on hand. Sweet potatoes work well here in addition to the russets called for, and personally I really like lima beans in my pot pie.
Enjoy!
Let’s bake together! Subscribe to my newsletter to be notified of all the newest recipes, and find my free recipe tutorials on YouTube 💜
Chicken Pot Pie with Biscuits
Print
Pin
Rate
Servings: 8 servings assuming 1 heaping cup of filling and 1 biscuit
Calories: 628kcal
Prevent your screen from going dark
Instructions
Biscuit Topping
-
Preheat oven to 400F (205C).
-
Combine flour, baking powder, sugar, and salt in the basin of a food processor². Scatter butter over the top of the mixture and pulse briefly to combine (butter pieces should still be visible, mixture should resemble coarse, pebbly crumbs). Add milk and pulse very briefly until just combined and mixture is clumping together.
2 ⅔ cups (333 g) all-purpose flour, 4 teaspoons baking powder, 4 teaspoon granulated sugar, 1 teaspoon salt, 8 Tablespoons unsalted butter, 1 cup (236 ml) whole milk¹
-
Transfer to a piece of cling wrap and pat into a 1” thick rectangle (flour your hands if the dough is sticky), and then cover with cling wrap and refrigerate until filling is prepared.
Filling
-
Melt butter in a large pot or dutch oven over medium heat (the pot you choose is the one you’ll be baking your pot pie in, make sure it’s big enough!).
5 Tablespoons salted butter
-
Add chopped onion and cook until tender and translucent (about 4 minutes.
1 (125 g) medium yellow onion
-
Sprinkle onion with with flour and whisk until smooth. Stir in salt, pepper, and spices (paprika, mustard, and thyme) until well-combined.
6 Tablespoons (50 g) all-purpose flour, ¾ teaspoon salt, ¾ teaspoon ground pepper, 1 teaspoon smoked paprika, ¼ teaspoon ground mustard, ⅛ teaspoon dried thyme
-
Gradually stir in chicken broth and heavy cream. Add potatoes, carrot, and mixed veggies and bring contents to a boil over medium heat, stirring frequently until liquid has thickened. Continue to boil until potatoes and carrots are tender when pierced with a fork.
3 cups (709 ml) low-sodium chicken broth, ½ cup (88 g) heavy cream, 3 cups (635 g) diced, peeled russet potatoes, 2 chopped carrots, 3 cups (325 g) frozen mixed vegetables
-
Remove from heat and stir in chicken. Remove biscuit dough from fridge and cut into 6-8 pieces (you can use a biscuit cutter or just cut the dough into rectangles with a knife).
3 cups (440 g) shredded chicken
-
Distribute biscuits evenly over the surface of pot pie, leaving a little space between biscuits. If desired, prepare egg wash by whisking together egg and water and use a pastry brush to brush the tops of the biscuits.
1 large egg, 1 teaspoon water
-
Transfer pot pie to 400F (205C) oven and bake for 25 minutes or until biscuits are beginning to turn a light golden brown (if you skipped the egg wash it will be a bit tougher to tell that they’re done as they stay pale) and cooked through. I’ll usually pierce the side of a biscuit with a knife to make sure it’s not gooey.
-
Serve and enjoy!
Notes
¹Alternative topping
If you prefer, make my pie crust recipe instead. Let it chill while you prepare the filling, then roll it out and place over the filling. You can alternatively transfer the contents of the pot to a 10” skillet (place a foil lined baking sheet underneath before putting it in the oven, just in case of overflow)
²Food processor alternative
If you don’t have a food processor whisk together the dry ingredients and sugar, use a pastry cutter, grater, or pair of knives to cut the butter into the mixture, and then stir in the milk.
Potatoes
Russet potatoes are my preference but you can substitute your favorite variety or whatever you happen to have on hand. Gold/yellow potatoes are a great second choice!
Making in Advance
Store the biscuits and the filling separately for up to 2 days (wrapped or in an airtight container in the refrigerator). When ready to bake, cut the biscuits, assemble them on top, and then bake as indicated (you may find that you need several additional minutes in the oven).
Storing
Store in an airtight container in the refrigerator for up to 4 days. This recipe also freezes well and will keep frozen (in an airtight container) for up to 3 months. I prefer to thaw overnight in the fridge before reheating.
Nutrition
Serving: 1serving | Calories: 628kcal | Carbohydrates: 55g | Protein: 32g | Fat: 32g | Saturated Fat: 17g | Cholesterol: 158mg | Sodium: 1270mg | Potassium: 728mg | Fiber: 5g | Sugar: 6g | Vitamin A: 7028IU | Vitamin C: 9mg | Calcium: 181mg | Iron: 4mg
Nutritional information is based on third-party calculations and should be considered an estimate only. Actual nutritional content will vary based upon brands used, measuring methods, cooking method, portion sizes, and more.
Recipe originally published October of 2020, I’ve updated the post to include new tips and notes but the recipe is unchanged (it was perfect as-is!).
More Cozy Comfort Foods
