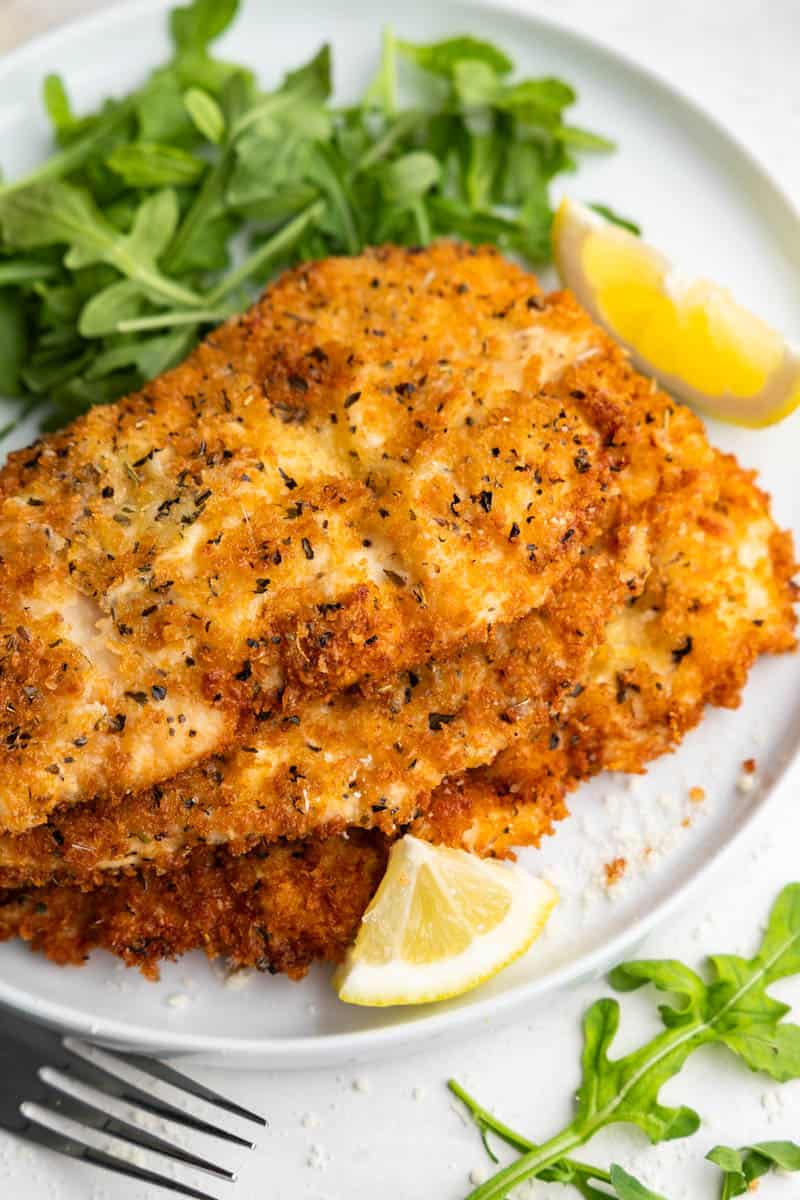
Imagine a giant chicken nugget that both grown-ups and kids can’t get enough of. Well, our crispy parmesan chicken cutlets are just that – a big, crunchy, delicious nugget that both grown-ups and kids will devour. We’ve got the perfect blend of garlic, parmesan, and Italian seasoning. You’ll love how quickly they come together – just 20 minutes to prep and another 20 to cook. It’s like the easiest, most delicious dinner solution ever.
Serve these cutlets up with our Secret Ingredient Macaroni and Cheese or Classic Coleslaw.
Why Our Recipe
- Like a giant chicken nugget that both grown-ups and kids enjoy.
- Simple seasonings that bring flavor with garlic, parmesan, and Italian seasoning.
- 20 minutes to prep, and 20 minutes to cook for an easy dinner.
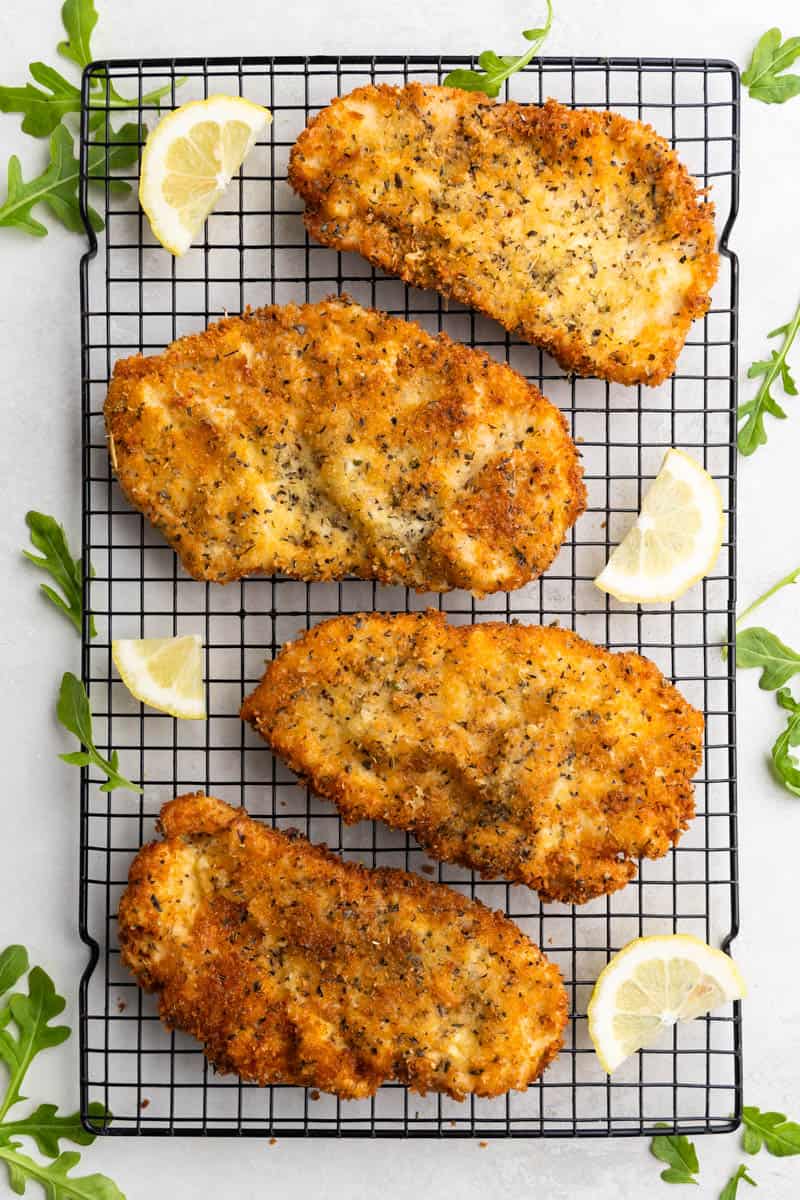
Feel free to enjoy this recipe as is, or go Italian-inspired and pour a bit of homemade marinara on top. We also love the idea of cranking up the heat and adding red pepper flakes to the breading. No matter how you decide to serve yours, it’s highly unlikely you’ll end up with leftovers! Everyone in our house can’t get enough of this pan-fried chicken goodness.
Ingredient Notes
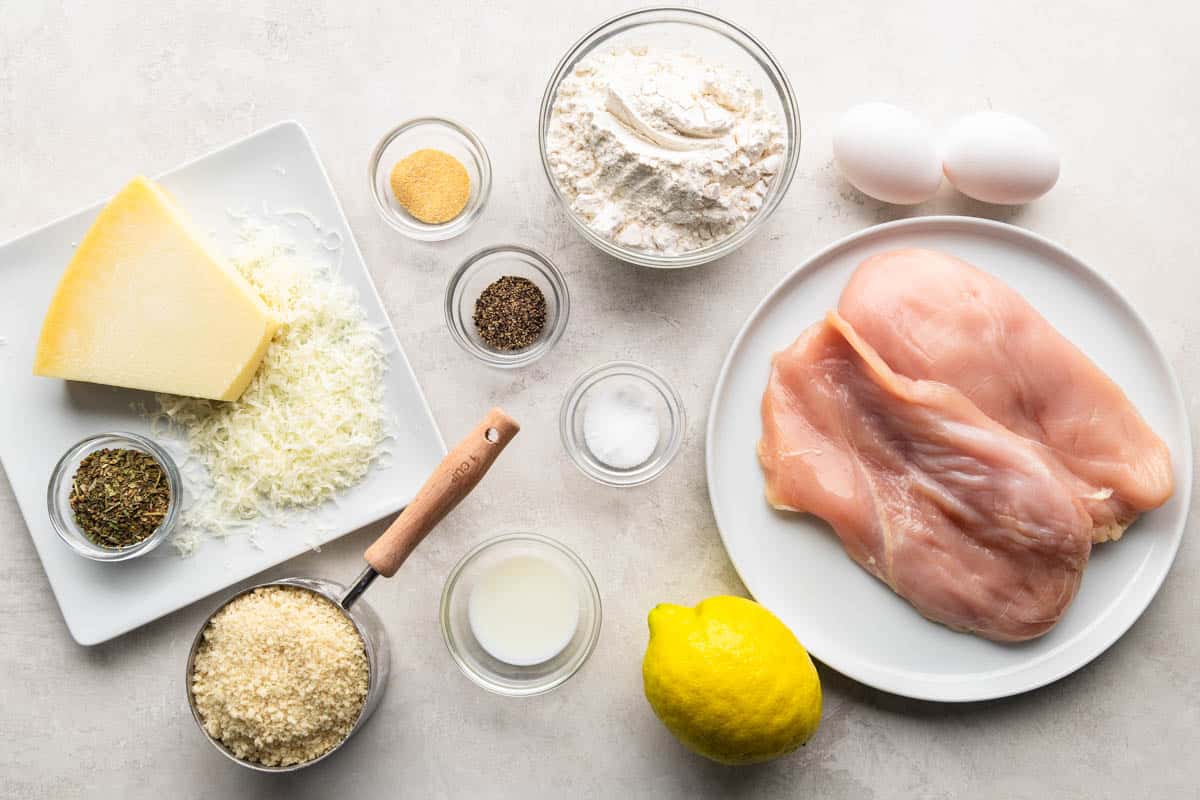

- Chicken Cutlets: cutlets are chicken breasts that have already been cut in half, but you can also use chicken breasts and slice them in half lengthwise.
- Seasonings: gives the chicken more flavor.
- Breading ingredients: follow our instructions in the recipe card and you’ll get perfectly breaded chicken every time! However, if you find that the breading still isn’t sticking, you can try putting the breaded chicken cutlets in the fridge for about 30 minutes to chill. This helps the breading solidify a bit more.
- Lemon: optional, but it does add a nice citrus flavor.
All About Those Chicken Cutlets
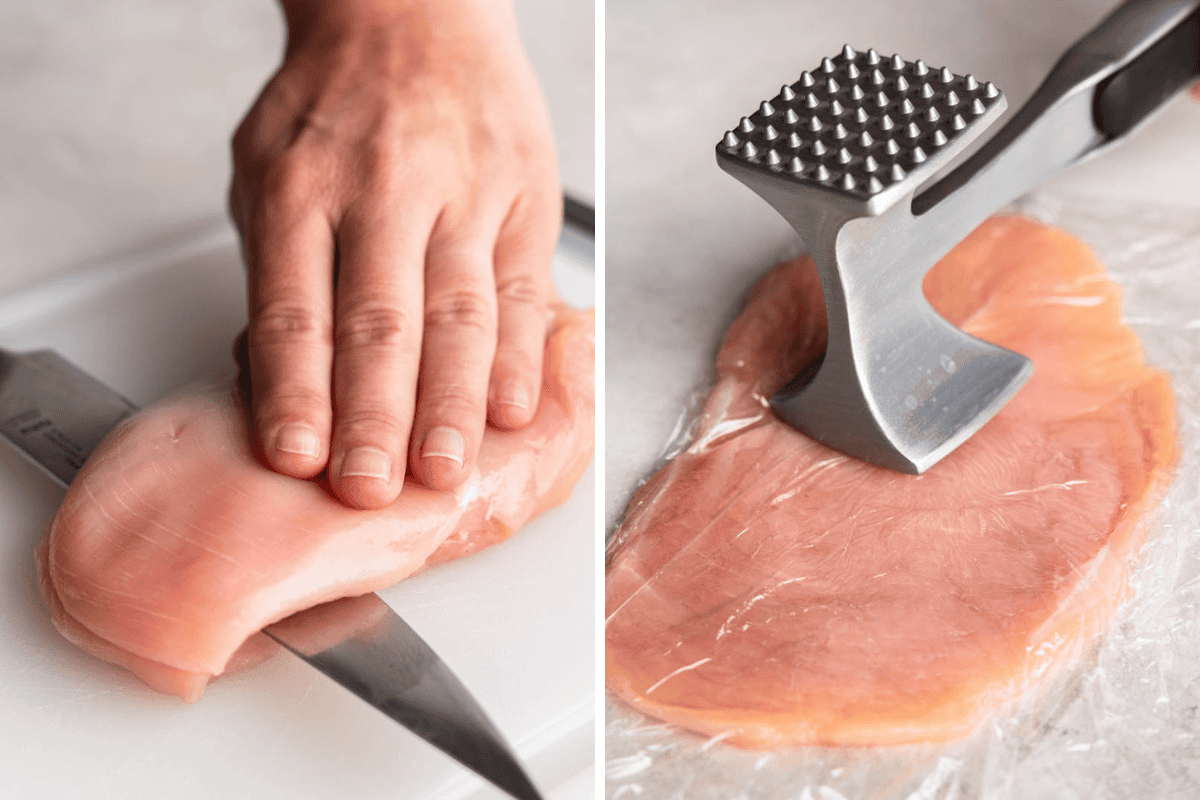
You can find packages of chicken labeled as “chicken cutlets” at the store, but if not, no worries because you can always slice your own. You never know when they mark up the price for something like that. It might even be cheaper!
Slice a boneless, skinless chicken breast in half lengthwise to create two thin pieces. For even thinner cutlets, place the slices between plastic wrap and gently pound them with a meat mallet until they’re 1/4 to 1/2 inch thick. If you don’t have a meat mallet, a rolling pin will do. How thin you go is a matter of personal preference. Just know that

All About That Dredging
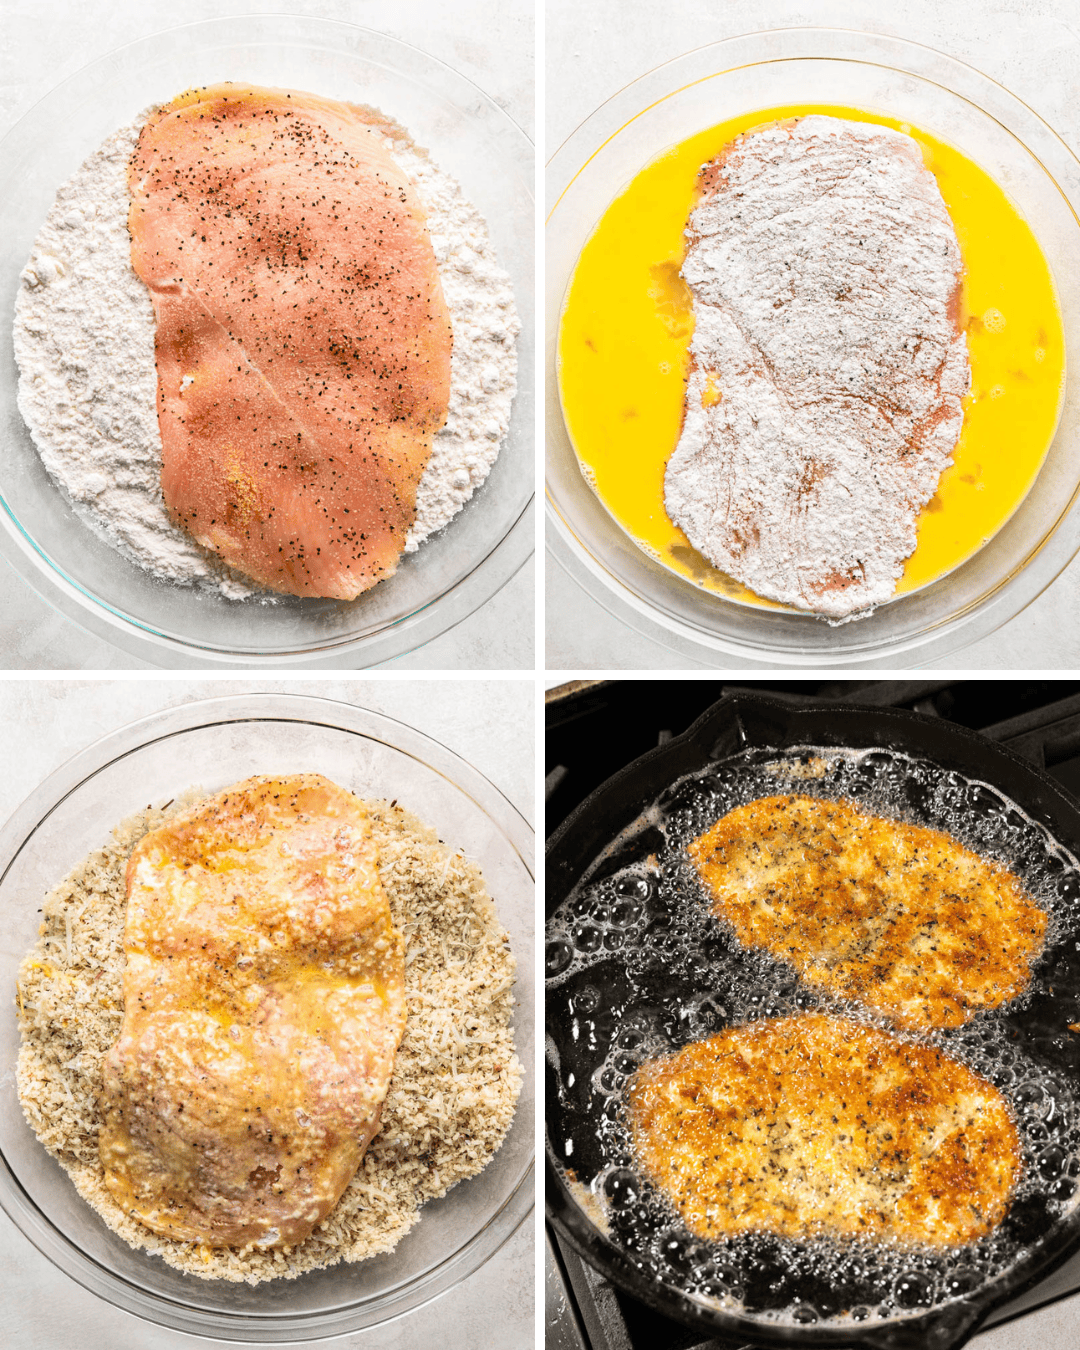
Dredging is a simple cooking technique where you coat your wet meat in a dry ingredient like flour before cooking. In this case, we go from wet meat to dry flour, then back to wet with eggs, and finally coating in bread crumbs which makes this a double dredging.
This process works best if you set up a dredging station where all the items to coat are lined up and ready to go. I like to use pie plates or cake pans because they’re nice and wide, making it super easy to coat the chicken. You’ll need three shallow dishes: one for flour, one for the egg mixture, and one for the breadcrumb mixture.

Dredging Tips
Keep One Hand Dry: Use one hand for dry ingredients (flour and breadcrumbs) and the other for wet ingredients (egg mixture). This keeps things less messy.
Coat Evenly: Make sure each piece of chicken is evenly coated at each stage. Shake off any excess flour and let excess egg drip off before moving to the breadcrumbs.
Press the Breadcrumbs: Gently press the breadcrumbs onto the chicken to ensure they stick well and create a nice, even coating.

Storage and Reheating Instructions
Refrigerate any leftovers in an airtight container in the fridge for up to 3-4 days.
Freeze by preparing the chicken cutlet recipe as instructed and allow the pieces to cool completely. Then, place them on a baking sheet and pop them in the freezer for a few hours. Once they are frozen, remove the baking sheet from your freezer and wrap each individually. Place them inside a plastic bag or container, then place them back in the freezer where they will keep for 3-4 months.
Reheat in the microwave in 30-second increments until they are completely warmed through. It shouldn’t take longer than 2 minutes.
Reheat in the oven by warming in your oven at 450 degrees F. Line a baking sheet with parchment paper. Spritz chicken with oil and bake for 10-15 minutes.
More fried cutlet goodness…
Watch the video below where Caytlin will walk you through every step of this recipe. Sometimes it helps to have a visual, and we’ve always got you covered with our cooking show. You can find the complete collection of recipes on YouTube, Facebook Watch, or our Facebook Page, or right here on our website with their corresponding recipes.
