It’s a simple process to make Browned Butter, but it can go from ‘browned’ to ‘burned’ in a few seconds, so don’t walk away from the stove, keep a close eye on the pan, and we’ll help you perfect this ingredient that will give your dishes deeper flavor.
Browned Butter makes everything taste better, from sweet to savory! Try our Browned Butter Blondies or Brown Butter Lobster Rolls if you don’t believe us.
Why Our Recipe
- Easy to follow step-by-step instructions.
- Because we have your back.
Ingredient Notes


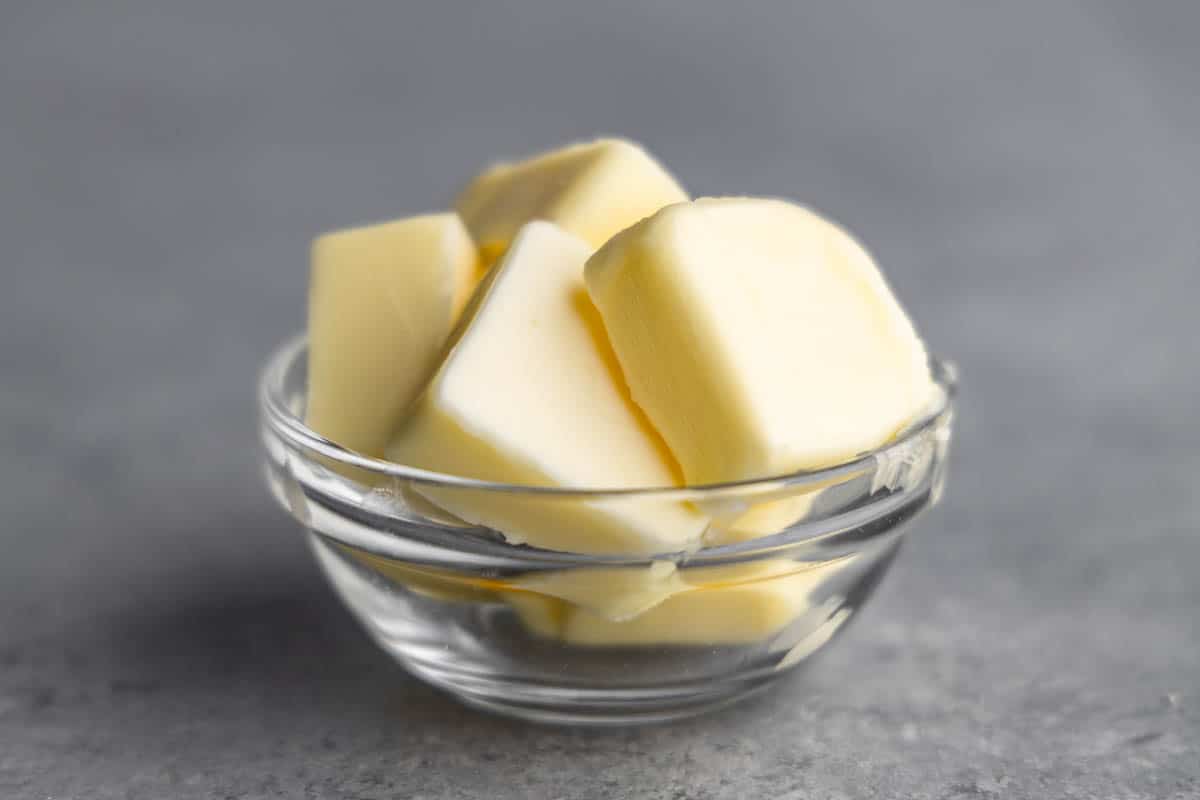
- Butter: Unsalted butter, cut into cubes/thick slices. You can substitute with salted butter, but it will have a slightly more savory tone, so you may need to adjust the salt content in whatever recipe you’re adding the Browned Butter to.
Step 1:
Place a heating pad or trivet on the counter near the stove for when your Browned Butter is ready to be removed from the stovetop.
Cut your 1/2 cup of unsalted butter into 6-8 equal cubes – this guarantees more even melting. Take the butter cubes and put them into a small to medium-sized saucepan.
Step 2:
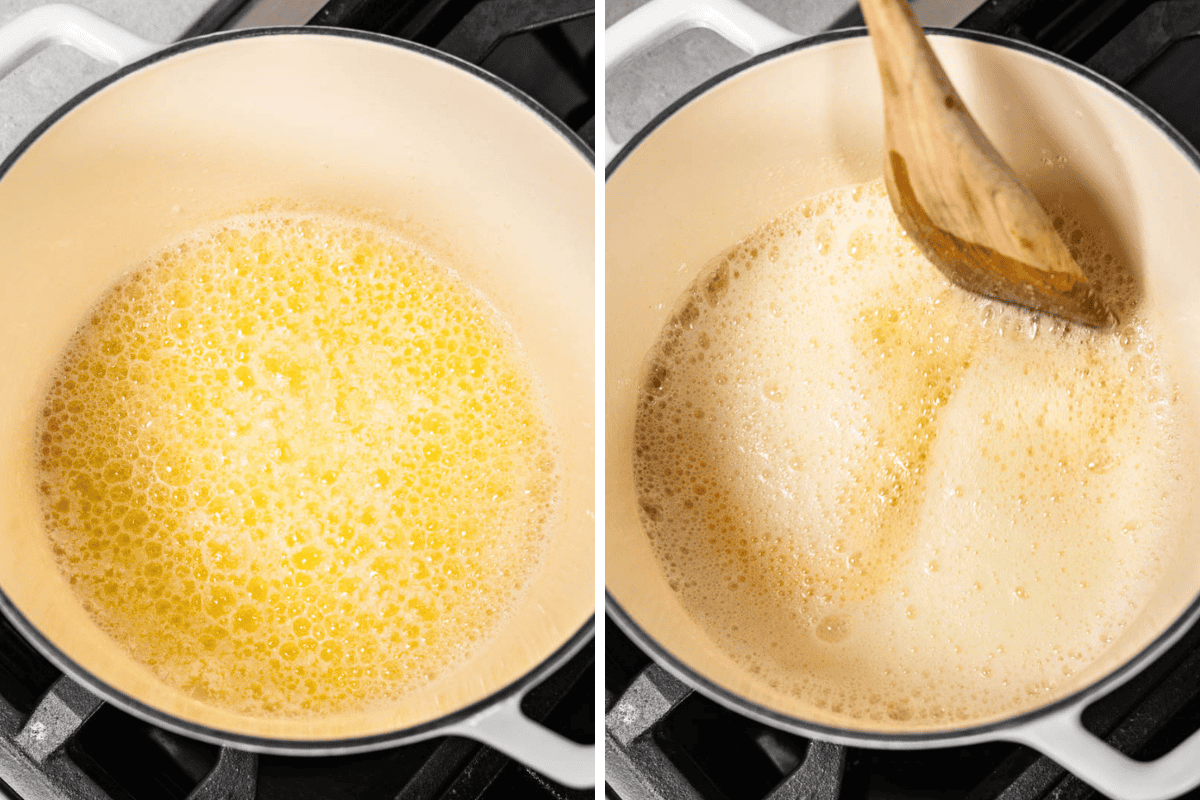
Put the saucepan with the butter cubes on the stove, and set the burner to medium heat. Stovetops and burners can vary a lot in how fast they heat up and how hot medium heat can be, so don’t walk away from the stove.
As the butter cubes melt, the color and texture will change from a smooth, yellow color to a separated mixture. Stir constantly to avoid any starting to burn to the bottom of the pan.


Step 3:
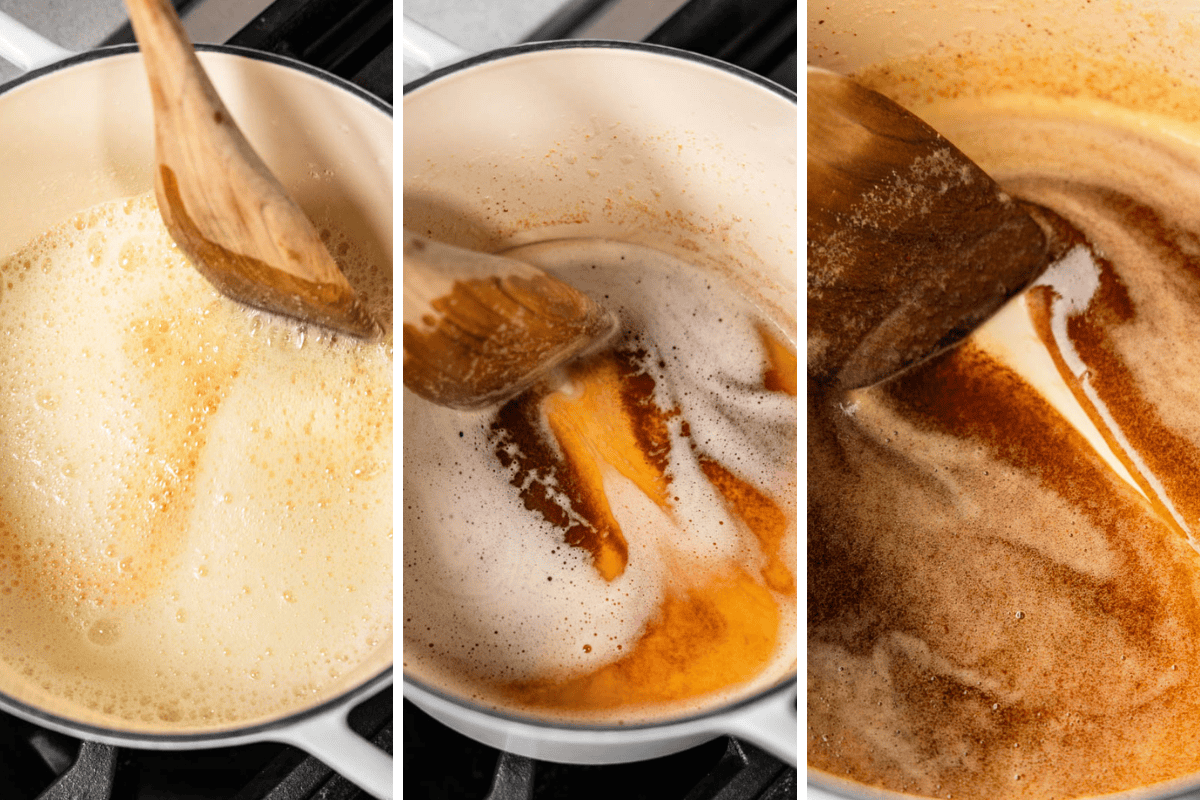
As the butter melts, it will begin to sizzle and foam – keep stirring. At this point, watch closely for the color to change from pale yellow to golden tan.
Keep stirring as the color continues to darken, and you’ll start smelling a nutty aroma. The browning process is almost complete, you’re close!


Step 4:
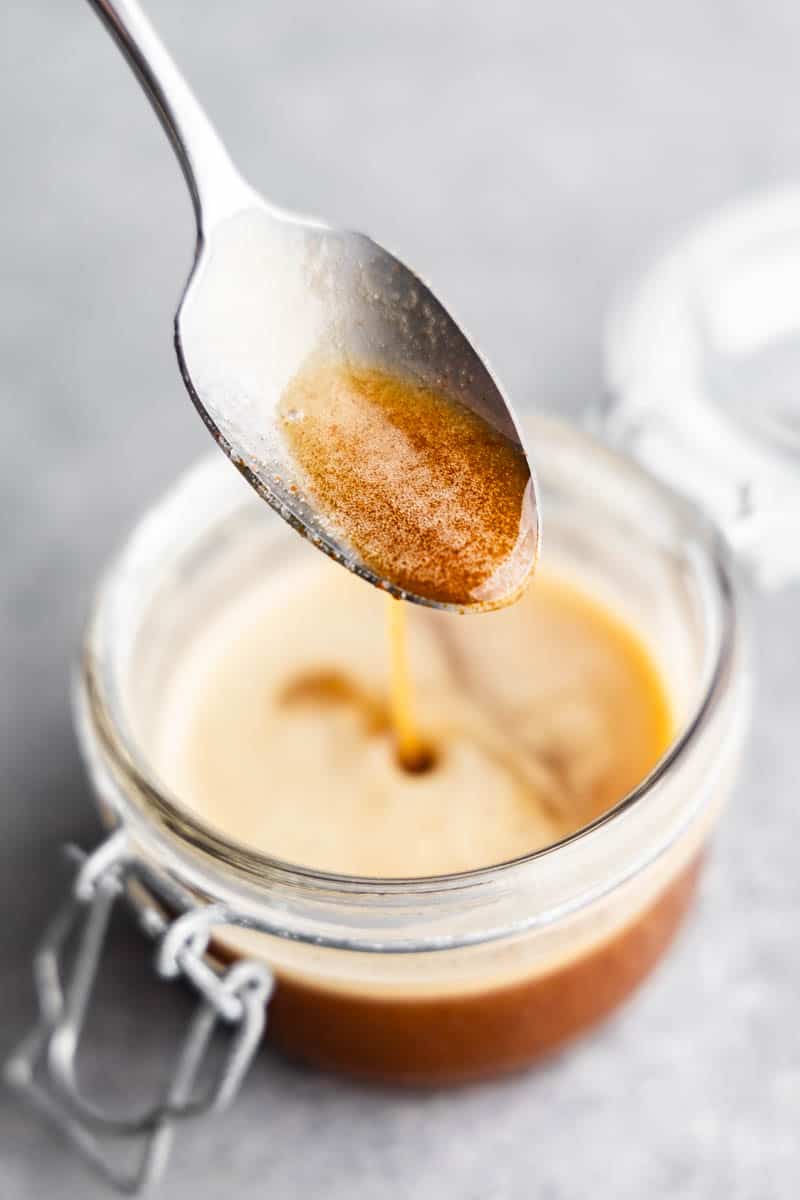
Once the butter reaches a deep amber color or light brown color (think the color of cardboard), immediately remove the saucepan from the stove and place it on the heating pad or trivet on the counter. Don’t forget to turn off the burner.


How to Use Browned Butter
By swapping regular butter for Browned Butter in a recipe, you’ll add a deeper flavor and more pronounced taste to your recipes and dishes – giving cookies a subtly, sweet crispness, lobster a more savory flavor, and pasta a nuttier tone.
Storage and Reheating Instructions
Store your browned butter in an airtight container or jar on the counter for no more than 2 days.
Refrigerate slightly cooled Browned Butter in an airtight container or jar. This will solidify and can stay good for up to 2 weeks. When ready to use, allow the butter to come to room temperature, or slowly warm it in a saucepan on low heat, stirring just until warm, then immediately remove from heat.
Freeze cooled leftover Browned Butter in an ice cube tray. Once frozen, move the cubes to a freezer-safe bag and keep in the freezer for up to 3 months. Allow to thaw at room temperature until it’s liquid again, or place frozen cubes in a saucepan and place on the stove on low heat, stirring until fully melted and slightly warm, then remove from heat.
